Nutanix Calm Jenkins plugin allows you to launch Nutanix Calm blueprint, provision infrastructure, and services in a multi cloud environment and subsequently run actions/tasks on those applications.
Changelog
Version 1.2 (January 03 2019)
- Ability to reference the Jenkins Environment variables in the run time variables section of blueprint launch and application action run in the Jenkins Calm Plugin.
- Calm Service IP application variable is exposed as a Jenkins environment variable.
- This release also includes two minor bug fixes.
Known Issues
- Slight performance lag observed in the plugin when used in Windows OS chrome browser
Version 1.1 (November 03 2018)
- In this release Plugin can be used with Jenkins Freestyle projects and Pipeline.
Launch Calm Blueprints and run application actions from the Jenkins build steps. - The Prism Central credentials are handled by the credentials plugin as prescribed by Jenkins.
- By default, the PC IP/URL expects an SSL certificate. There is an exclusive option to override the same.
License:
- All source code is licensed under the MIT license.
Supported Versions:
- Jenkins versions: 2.107.2 and later
- Nutanix Calm versions: 5.7.1 and later
- Google Chrome version: 69.0.3497.100 (Official Build) (64-bit)
Plugin Installation:
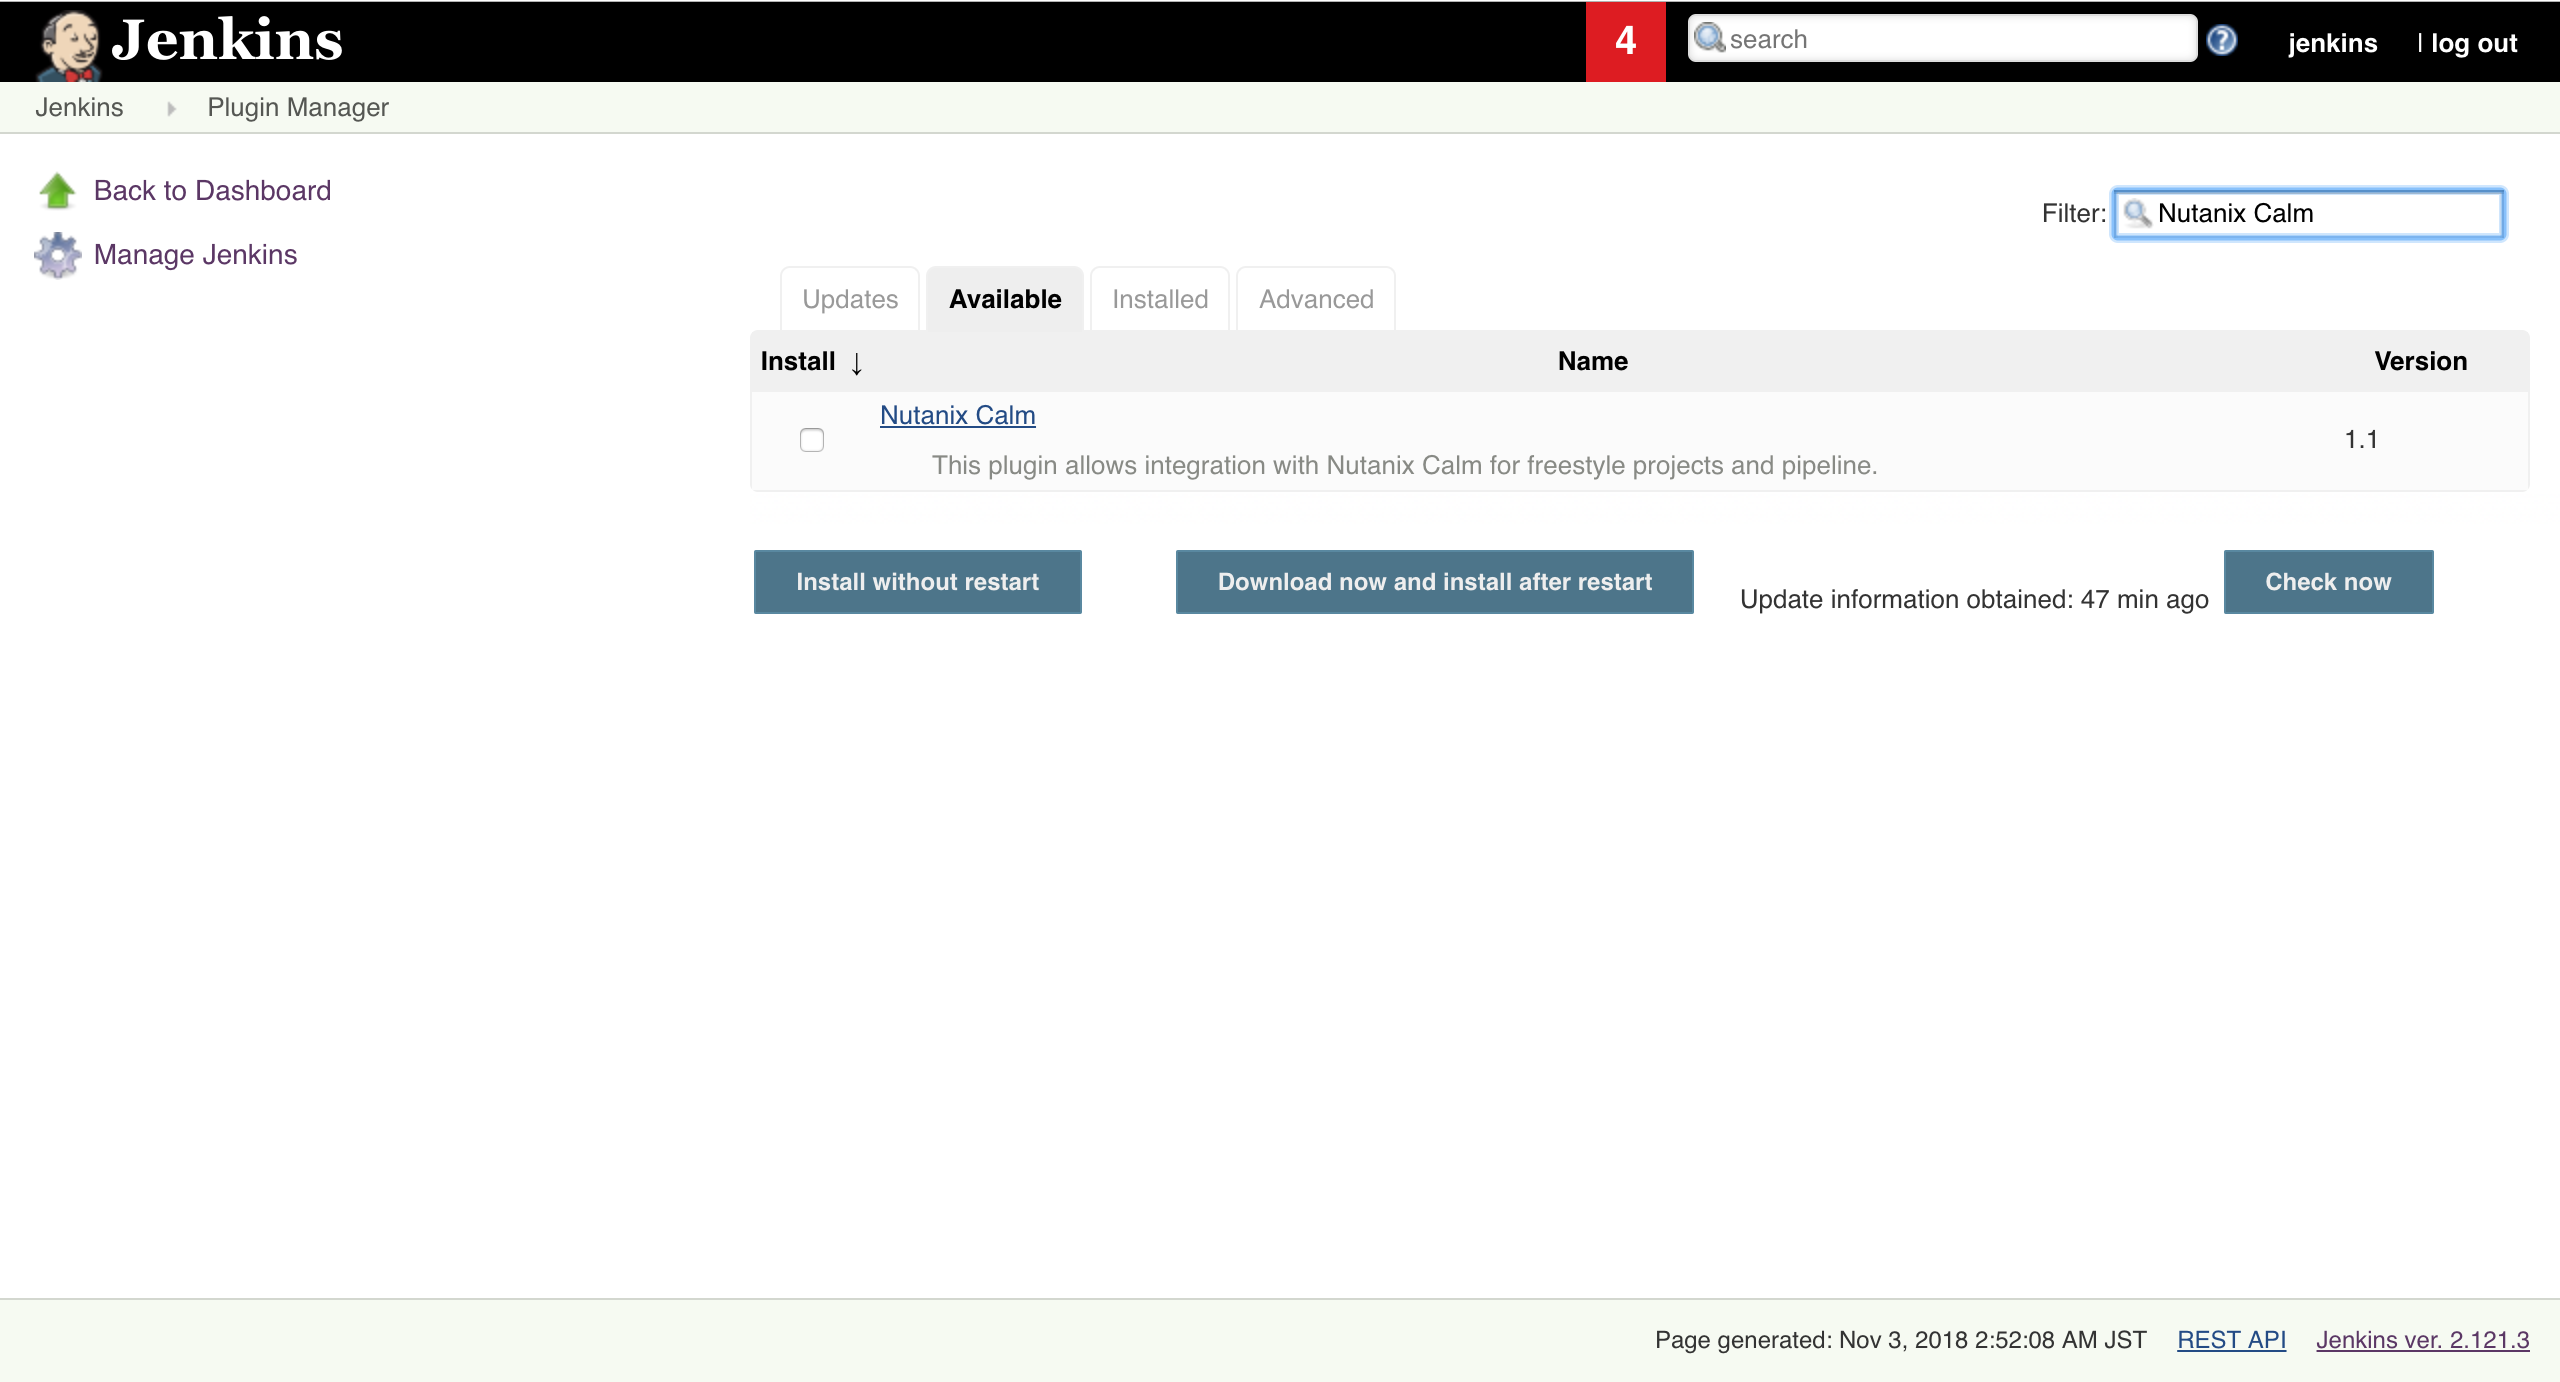
- Navigate to Manage Jenkins→ Manage Plugin → Available. Search for Nutanix Calm
- To verify that the Nutanix Calm plug-in is successfully installed, click Manage Jenkins→ Manage Plugins→ Installed, search for Nutanix Calm plugin.
Plugin Configuration:
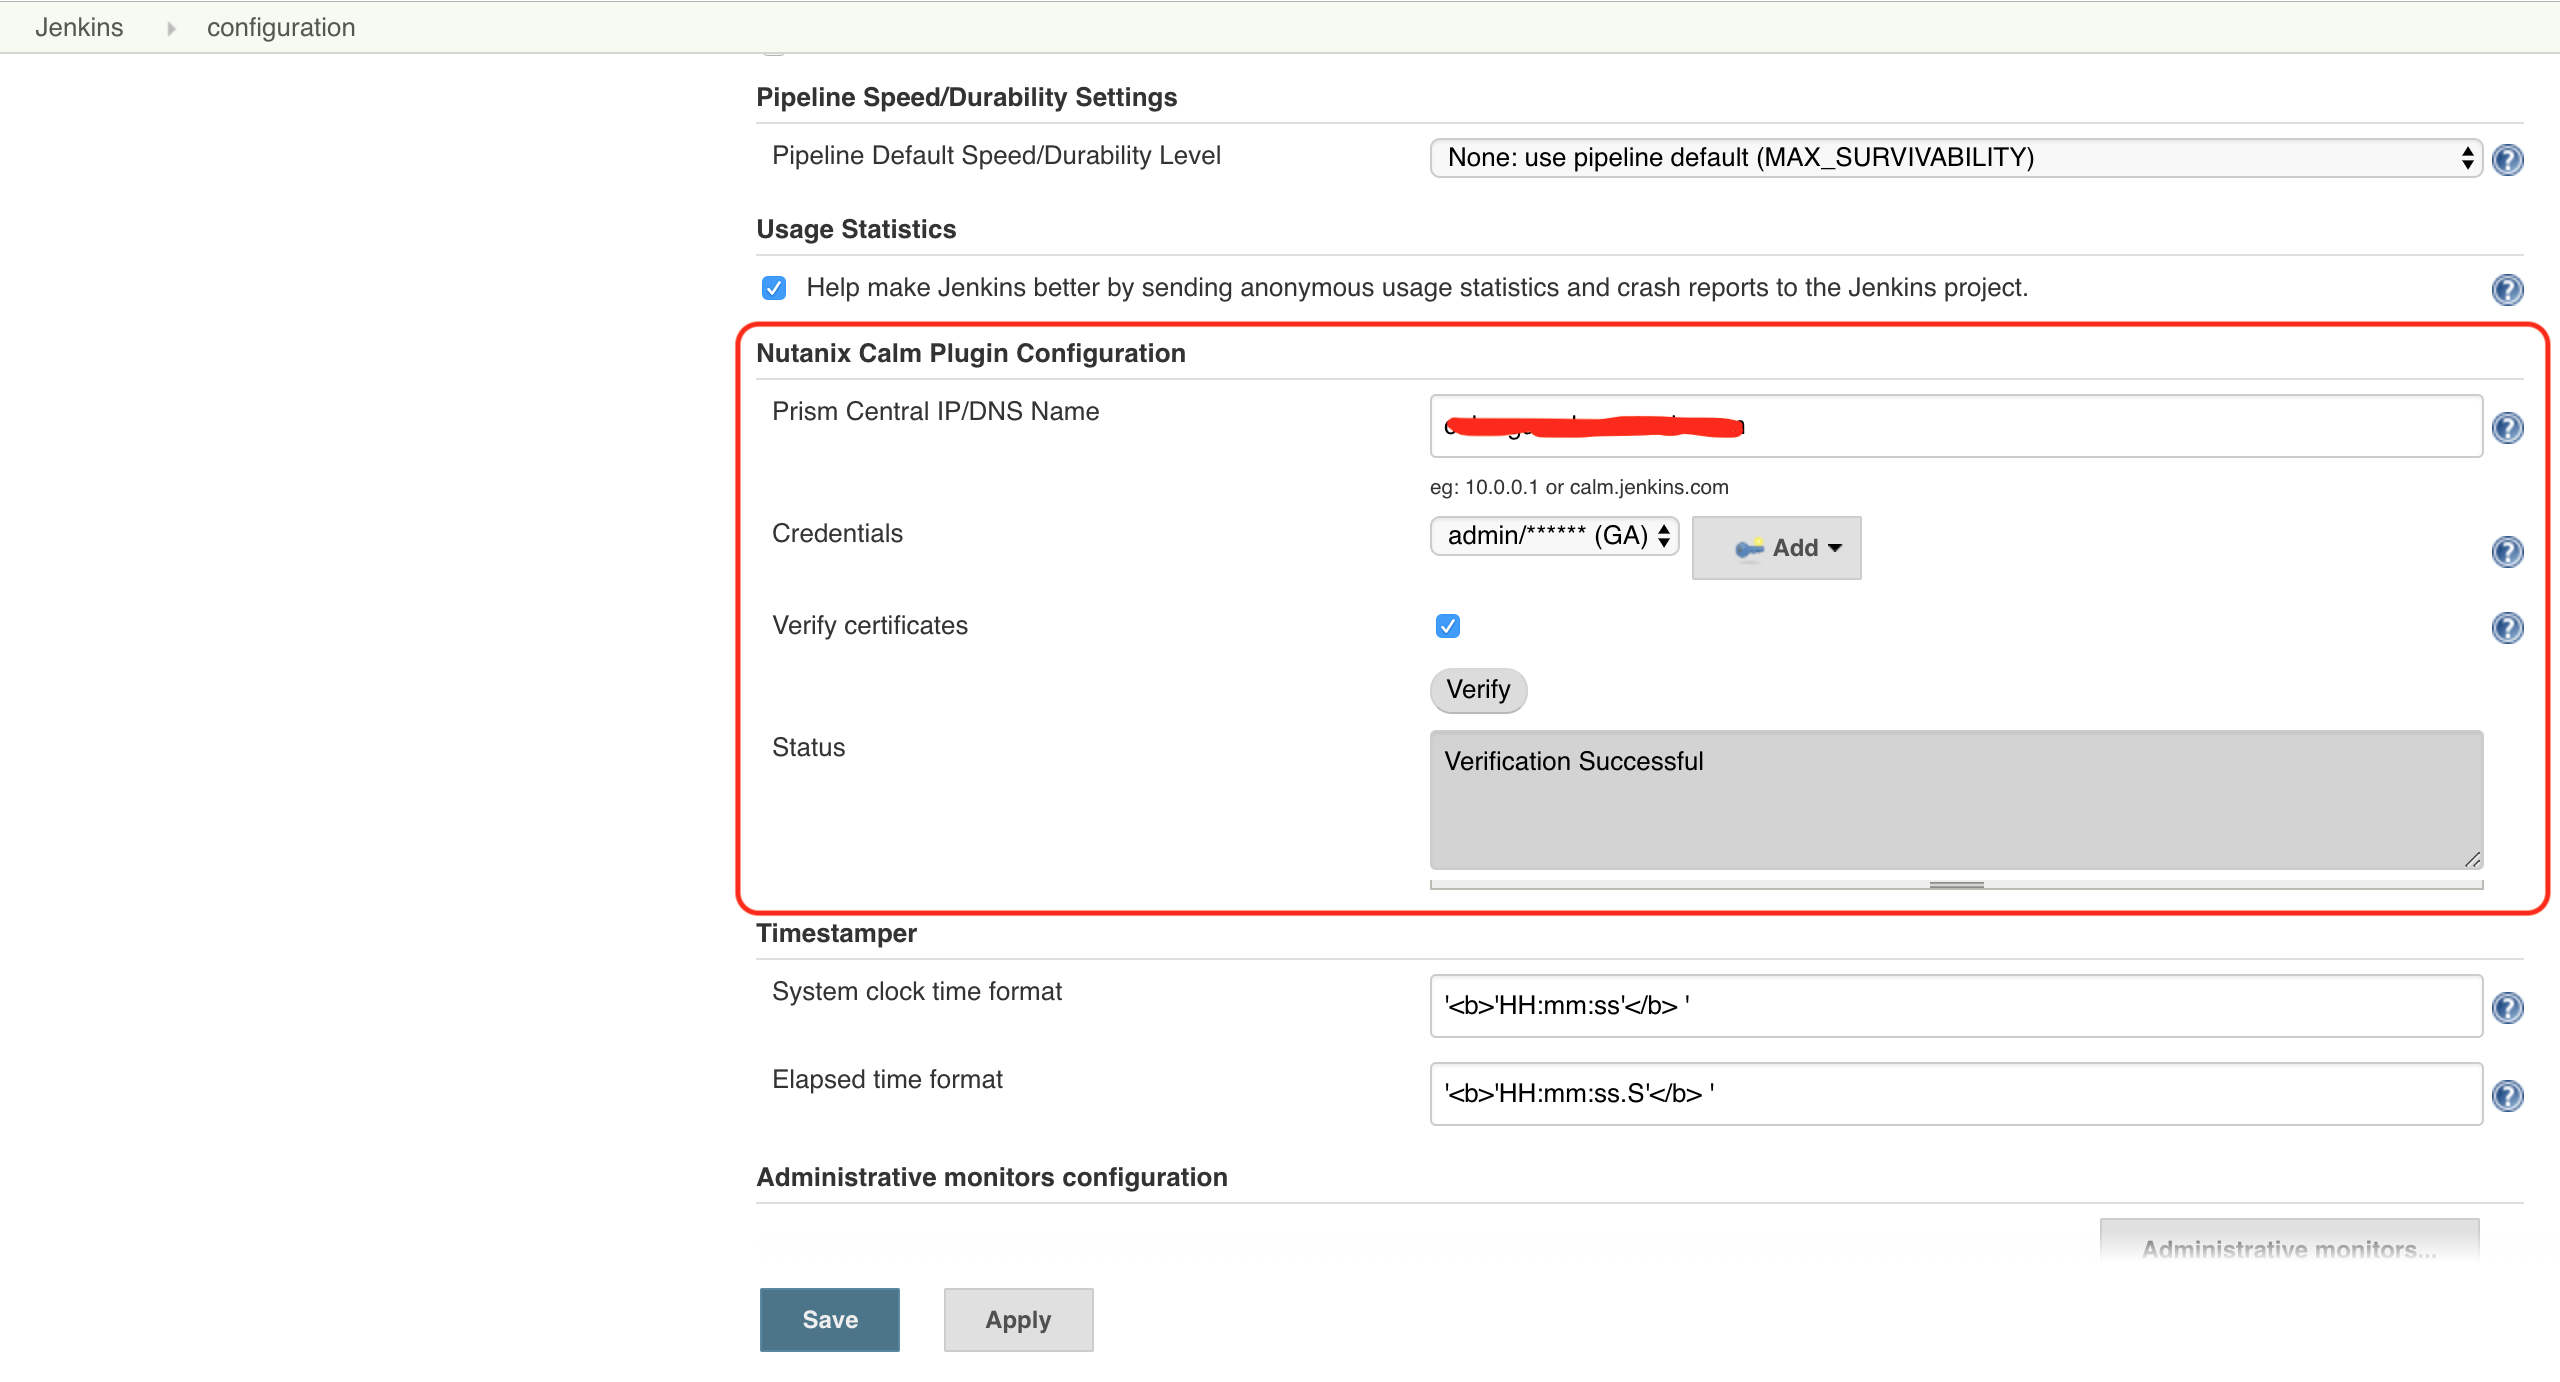
- To configure the plugin first Navigate to Manage Jenkins -> Configure System -> Nutanix Calm Plugin Configuration. Provide the Prism Central IP/DNS Name, Username and Password.
Jenkins Freestyle job Setup:
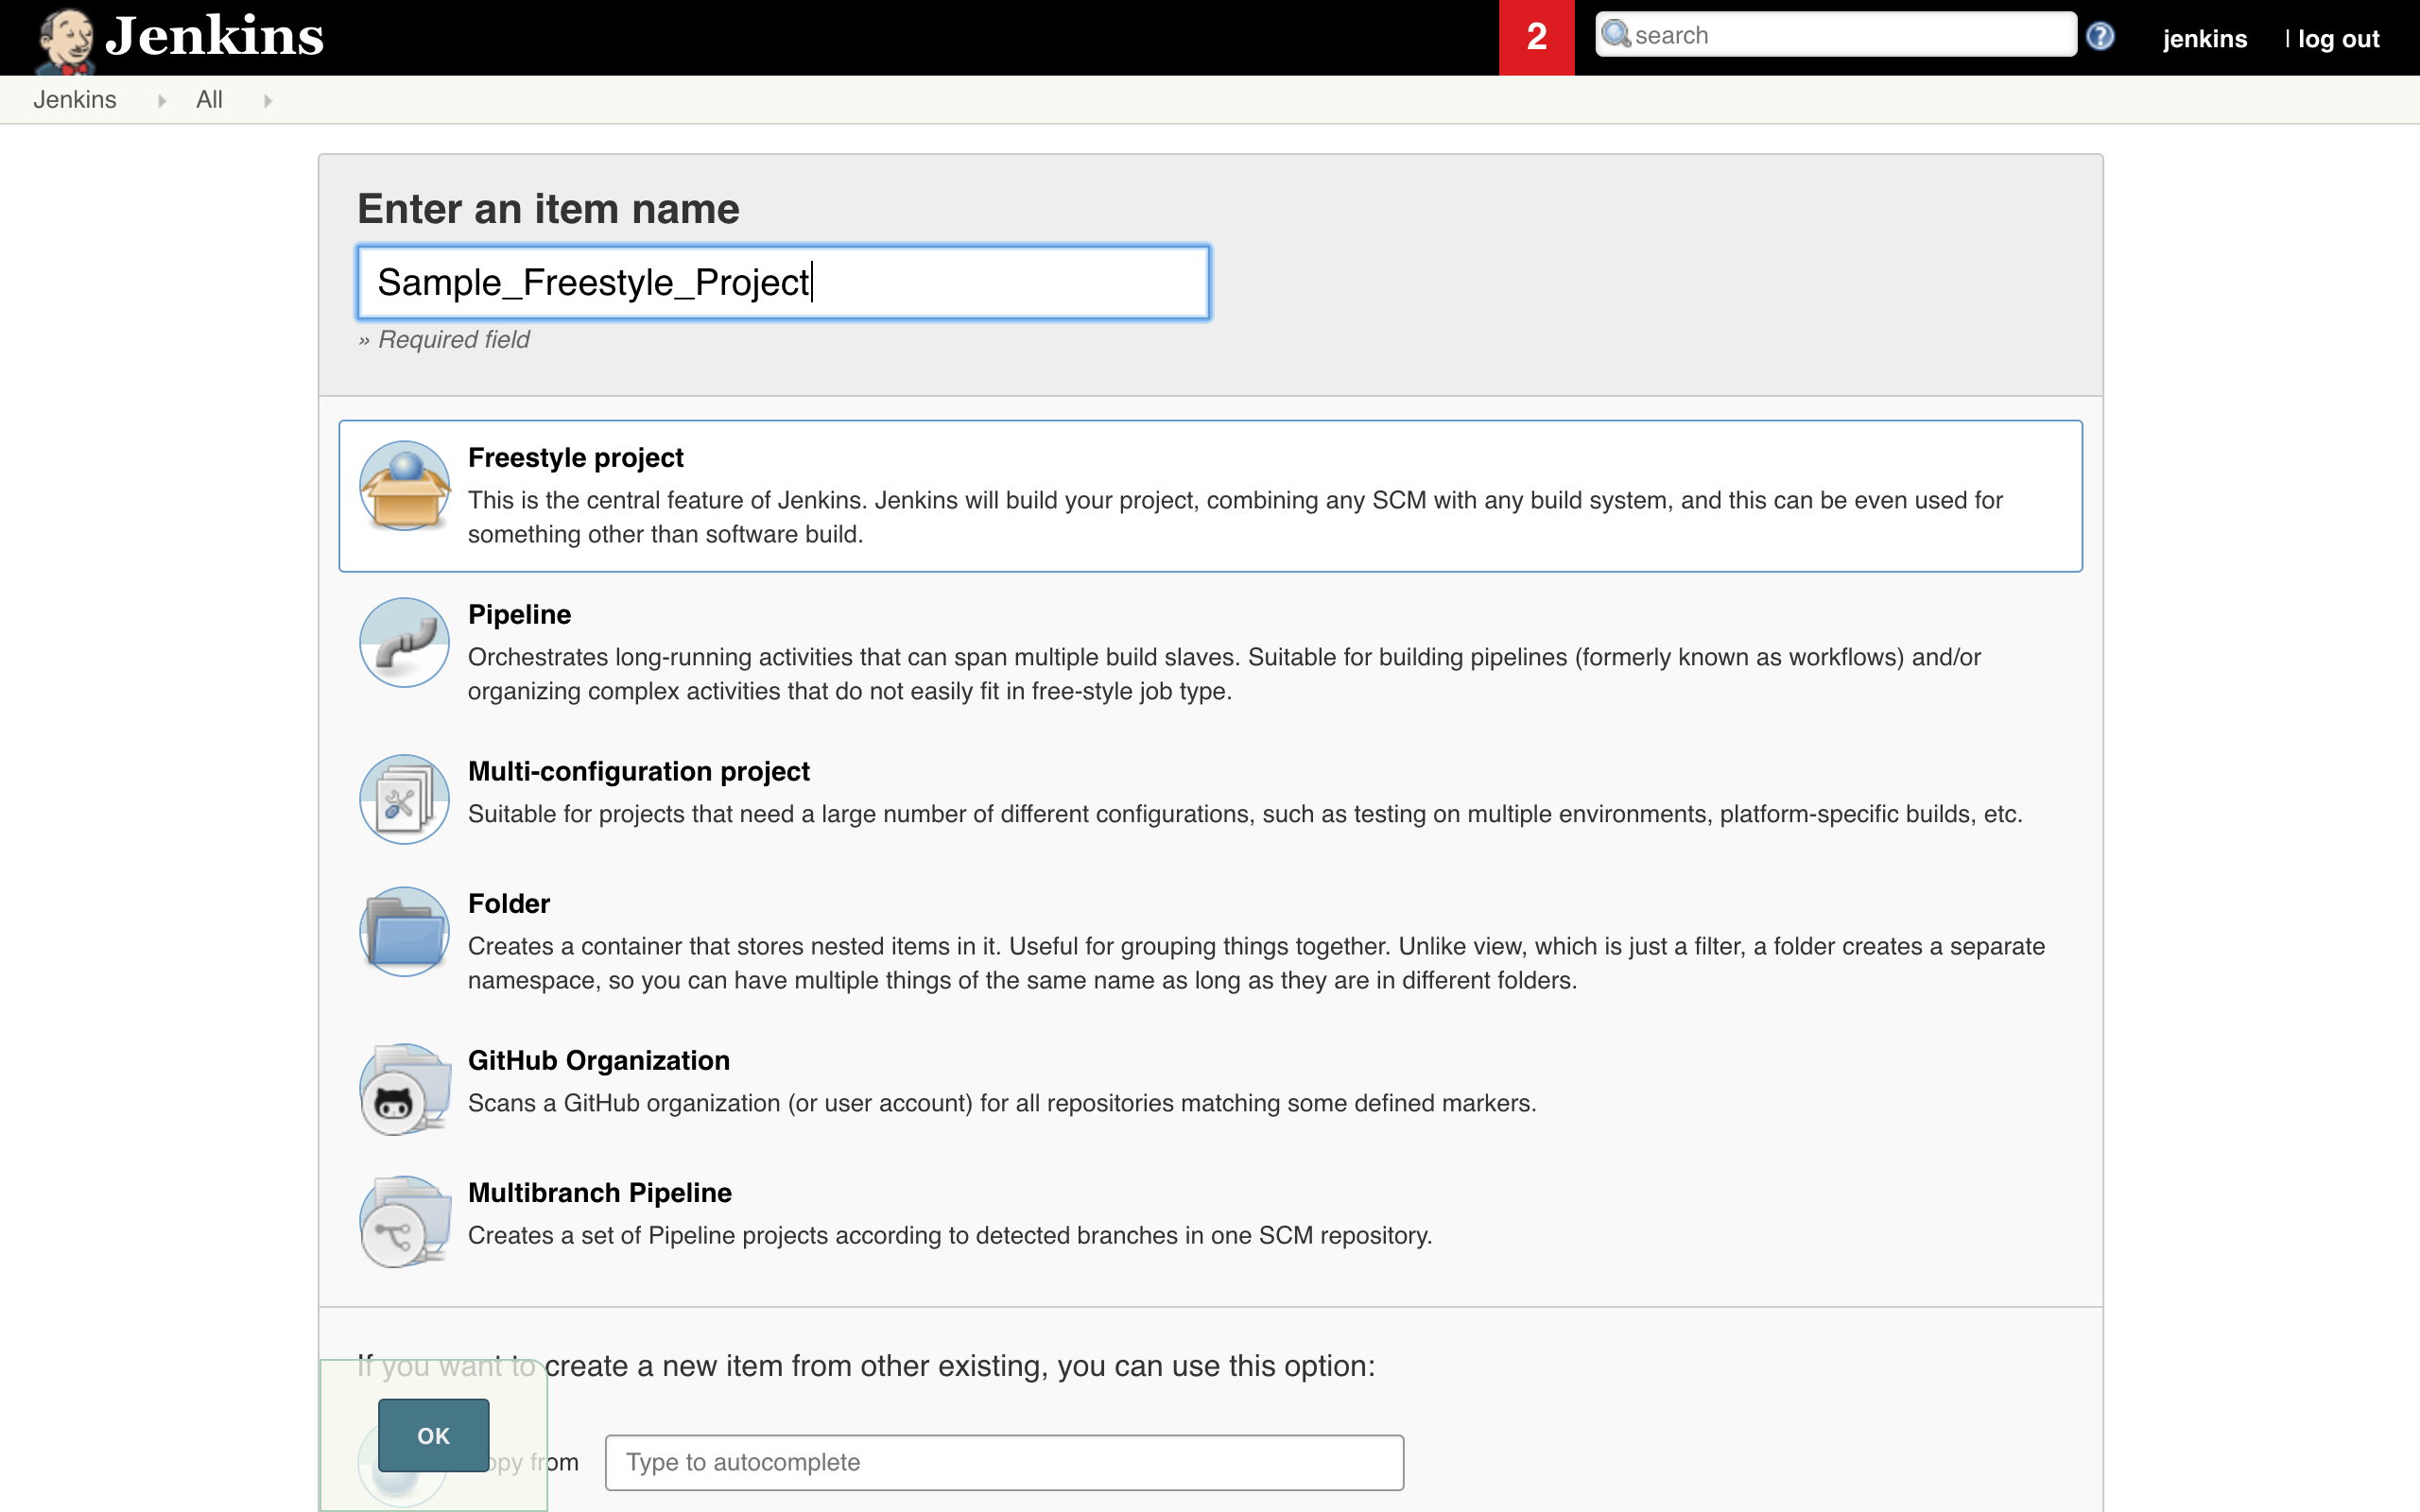
- Click on New Item. Select Freestyle project. Enter an item name. Click OK.
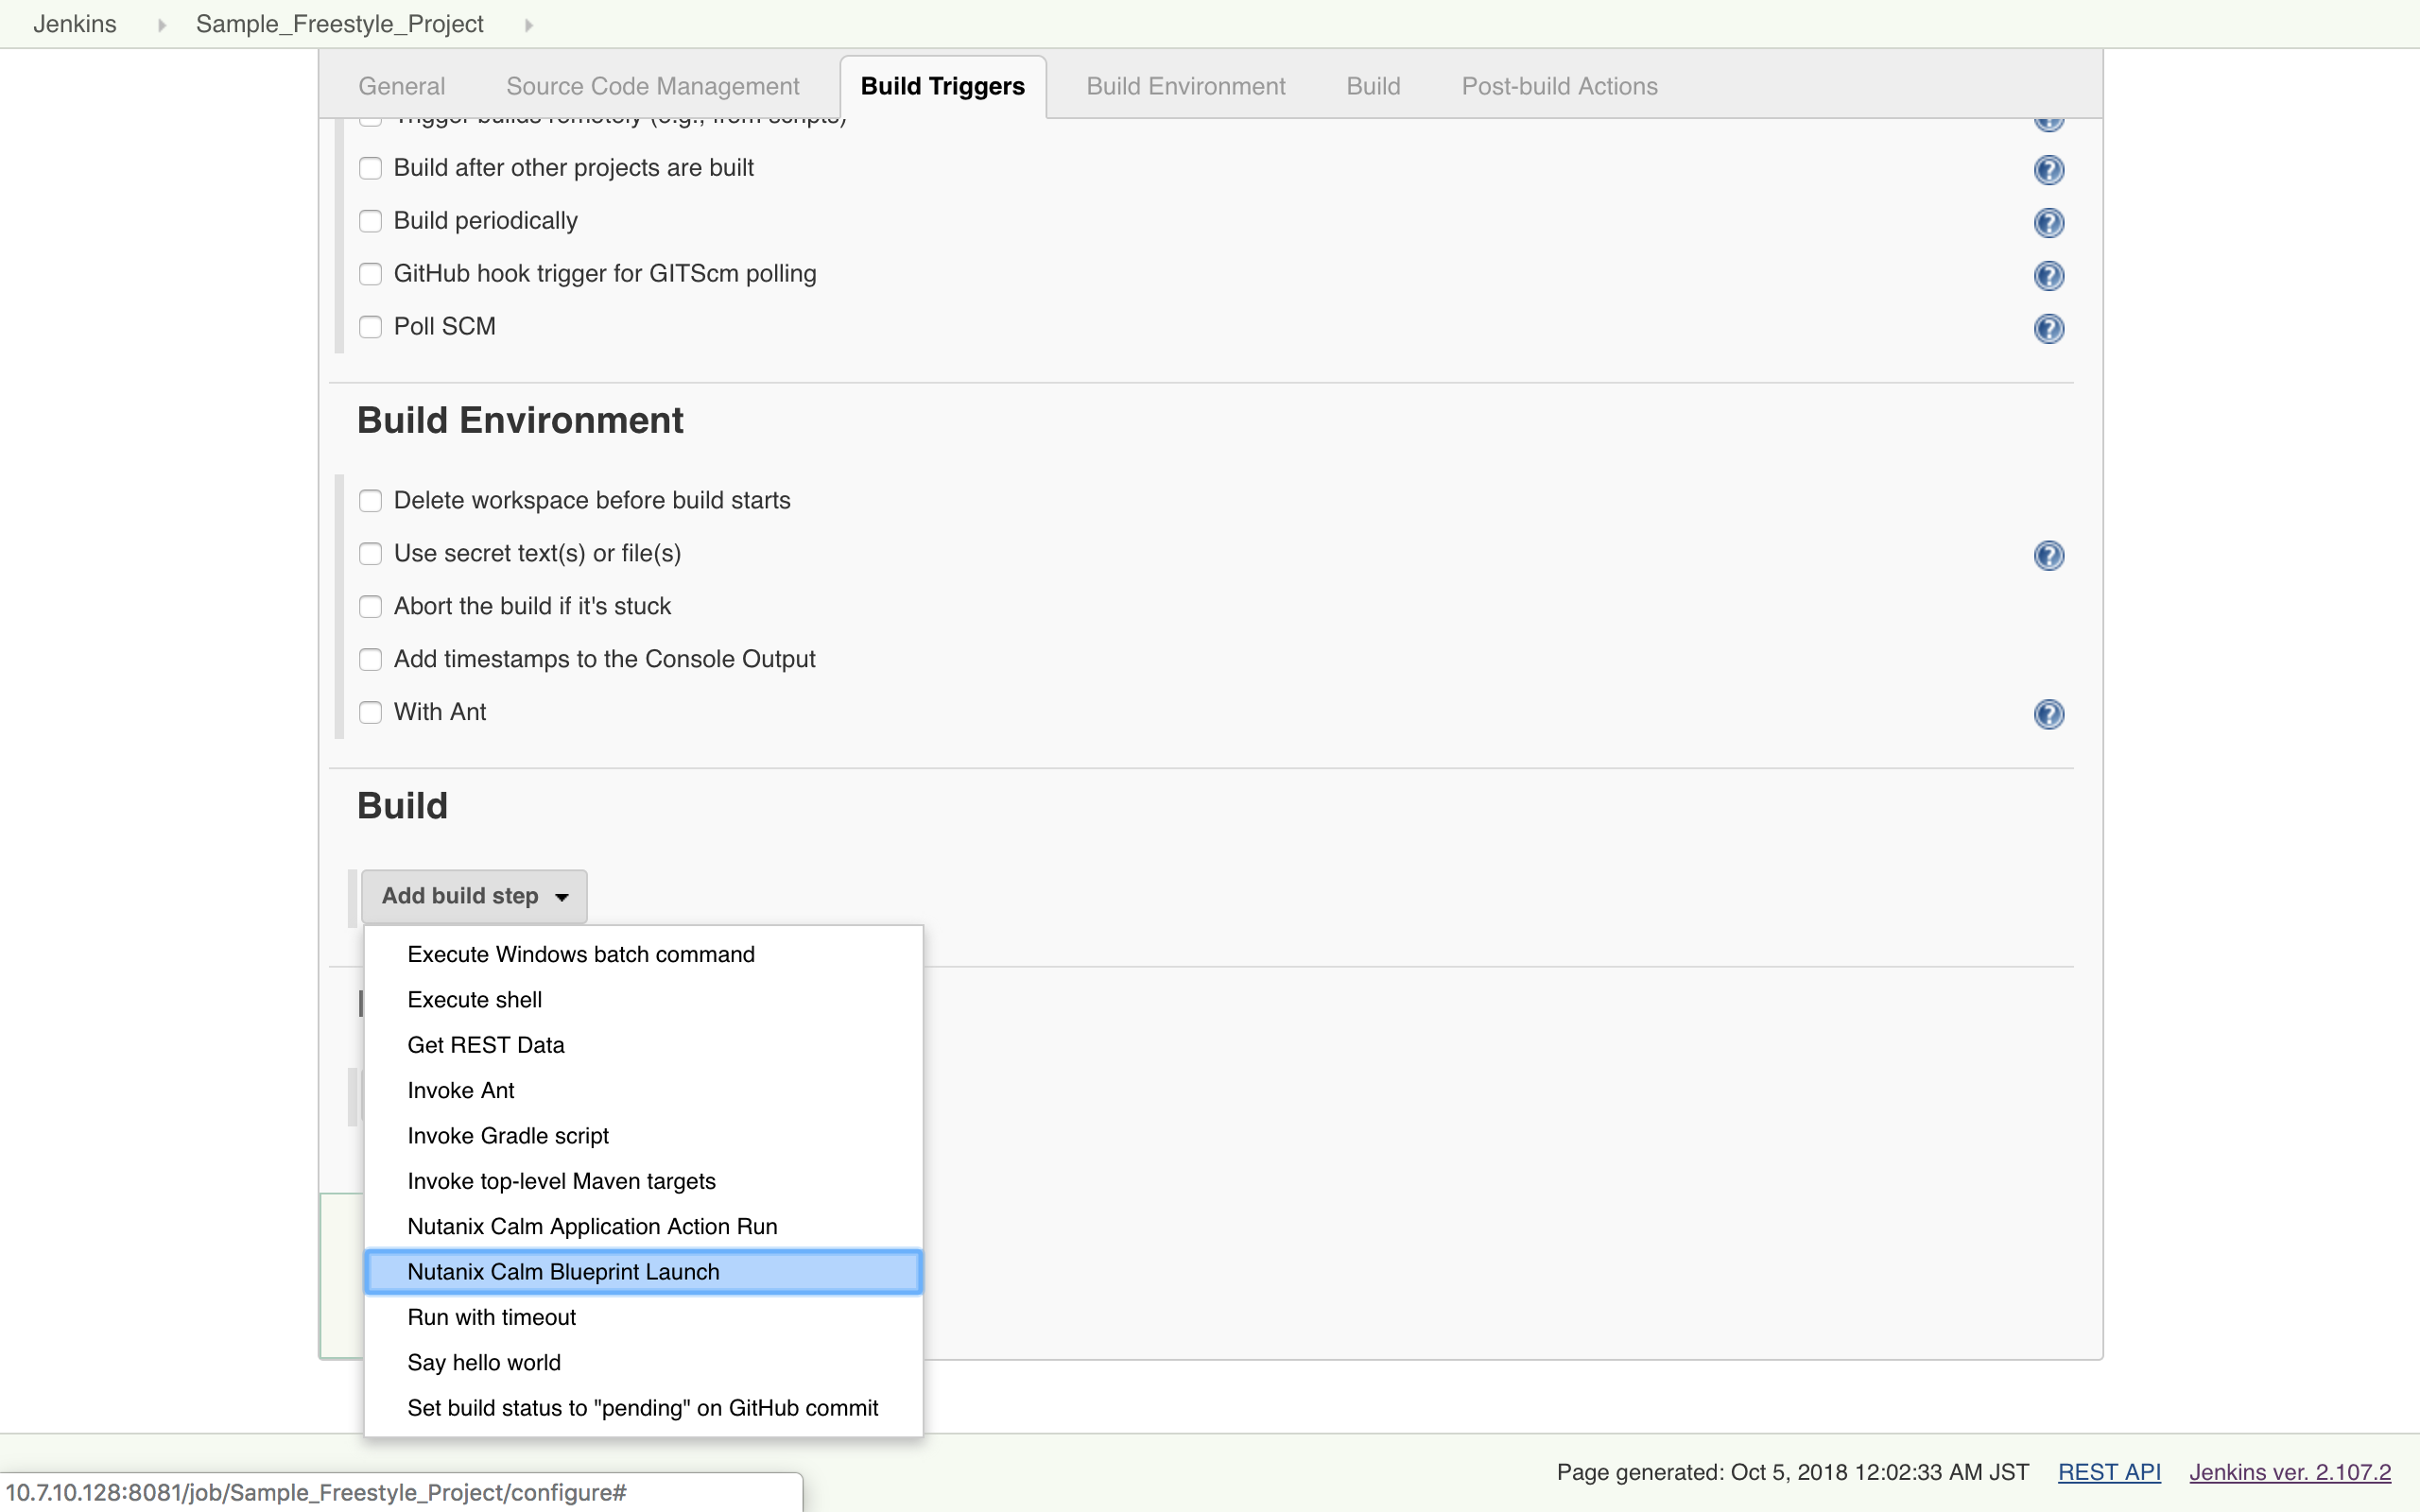
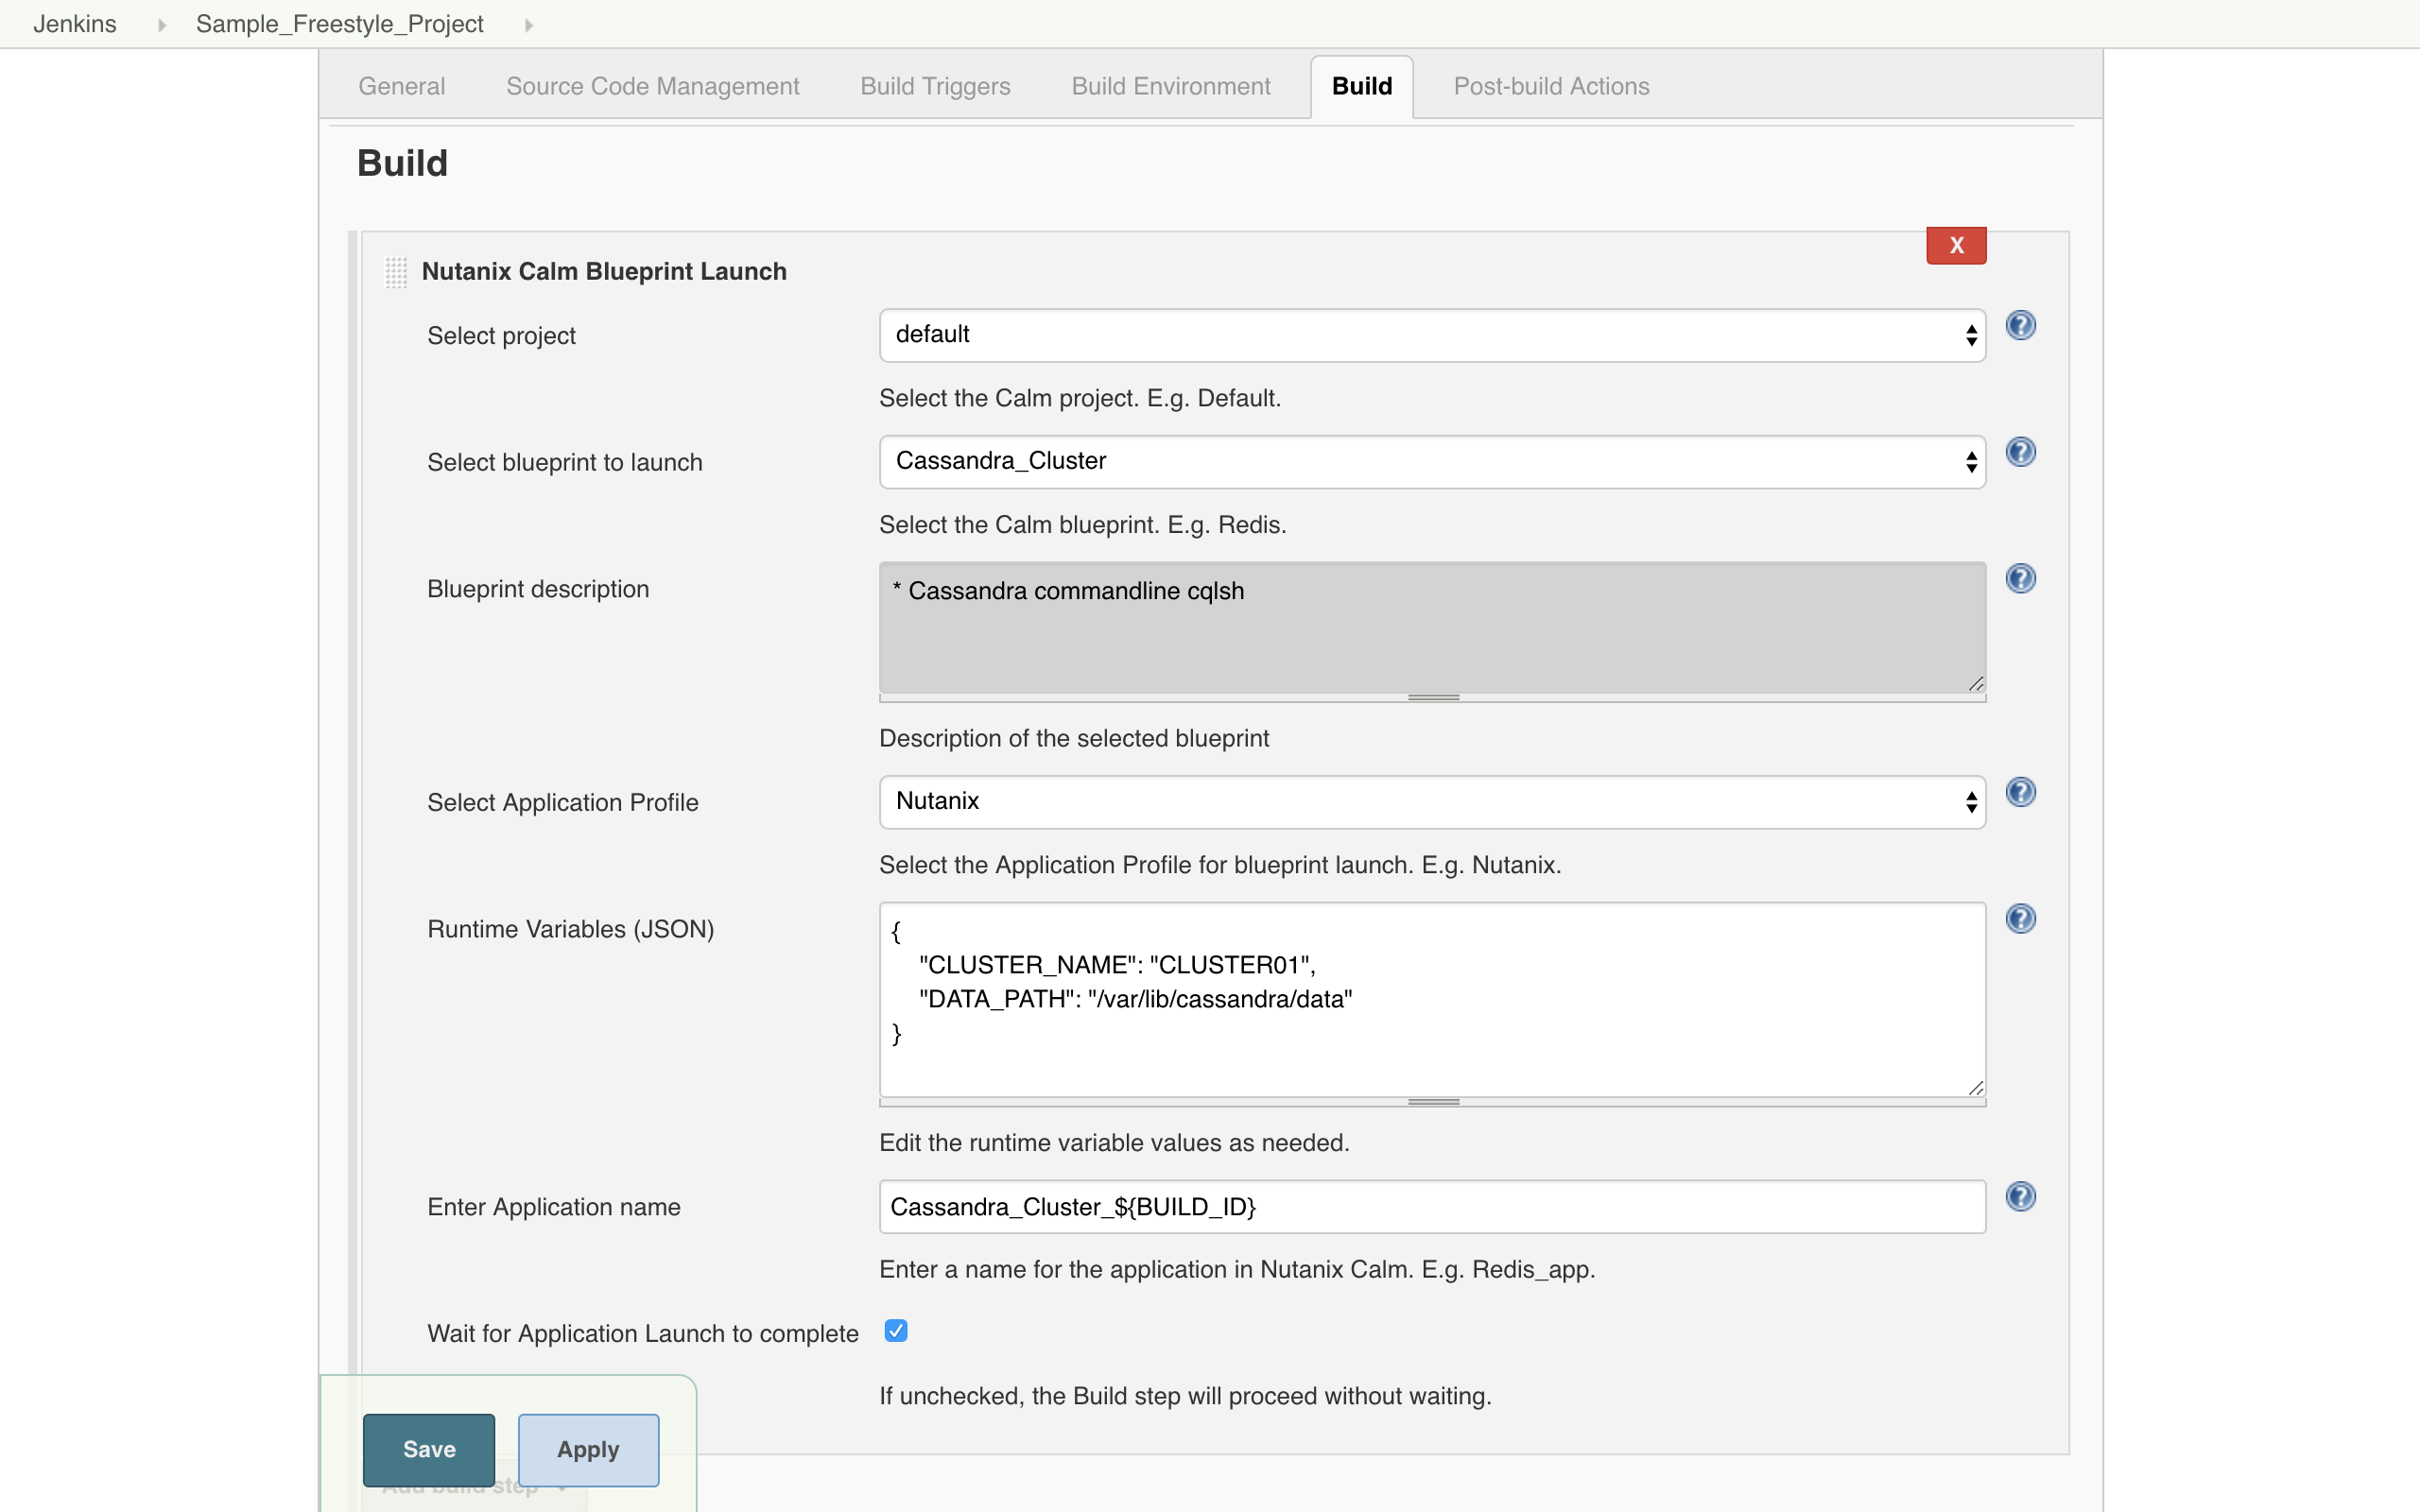
- Click on Add Build step. Select Nutanix Calm Blueprint Launch.
- In the section
- Select the Calm project.
- Select the Blueprint to launch. Blueprint description is fetched and displayed.
- Select the Application profile.
- Modify the values for runtime variables available for that application profile.
- Provide an application name. BUILD_ID is appended by default to the application name to uniquely identify it in Calm.
- Select the option if you want Jenkins job to wait for blueprint launch to complete before proceeding to the next step.
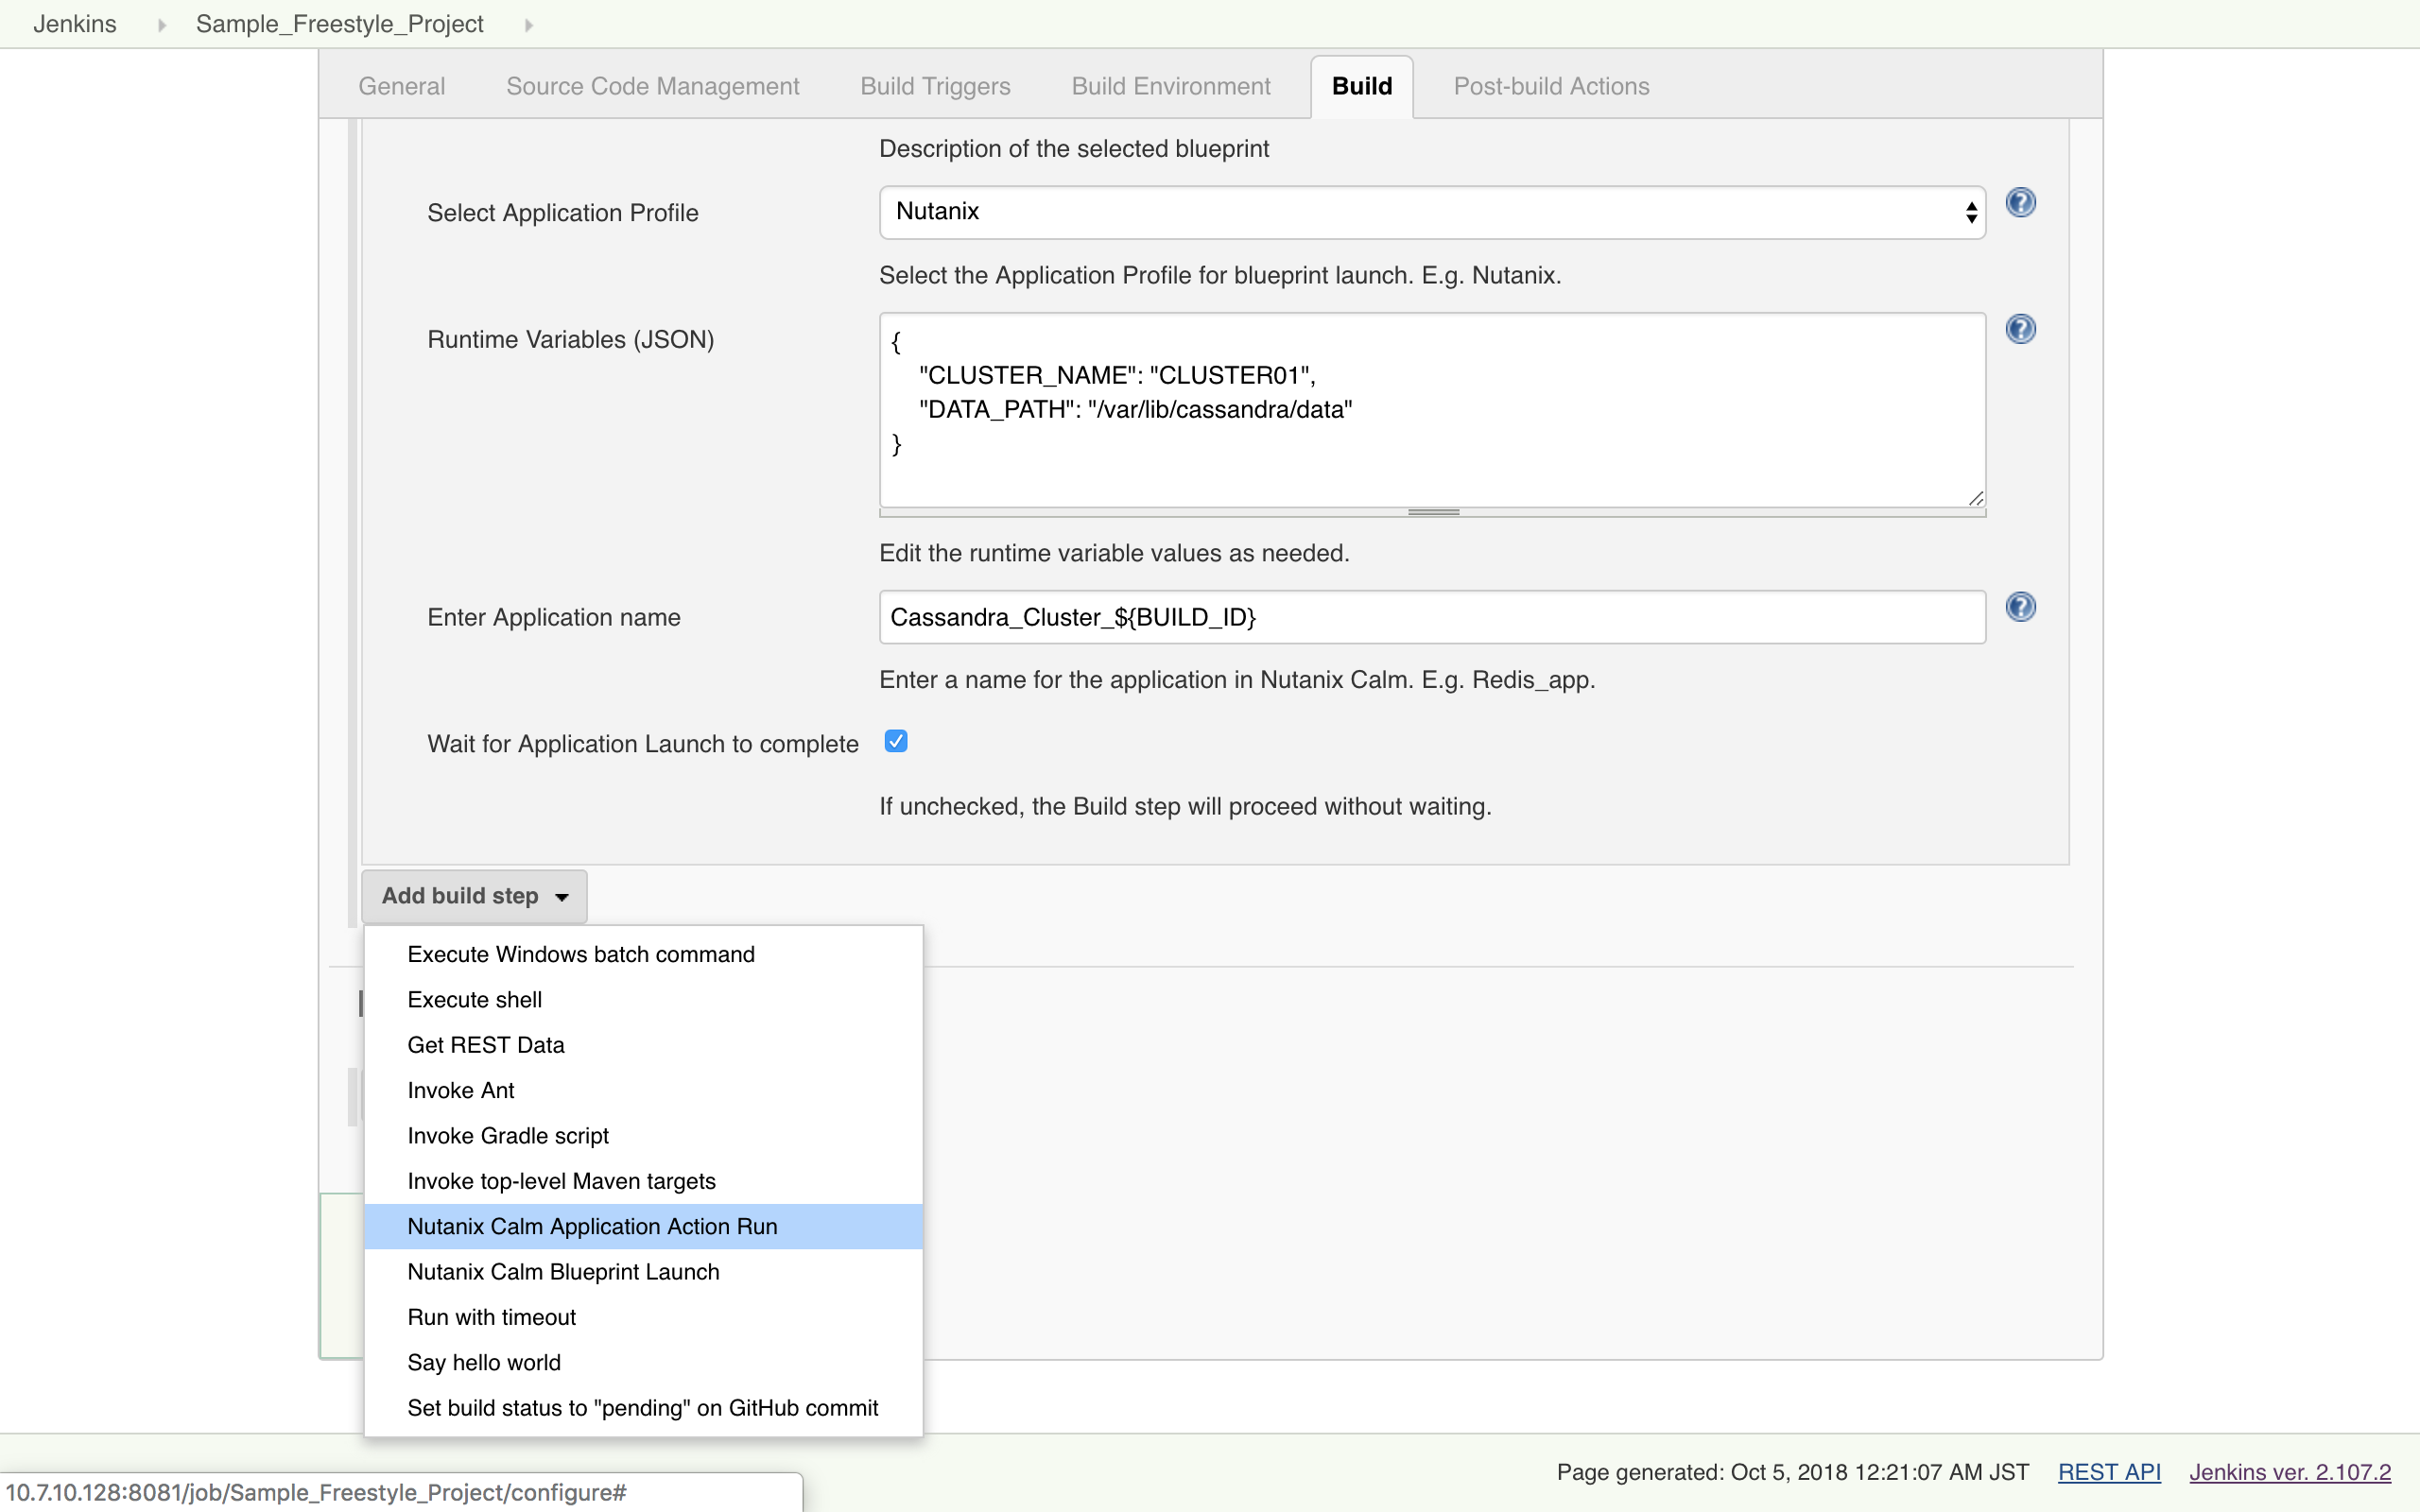
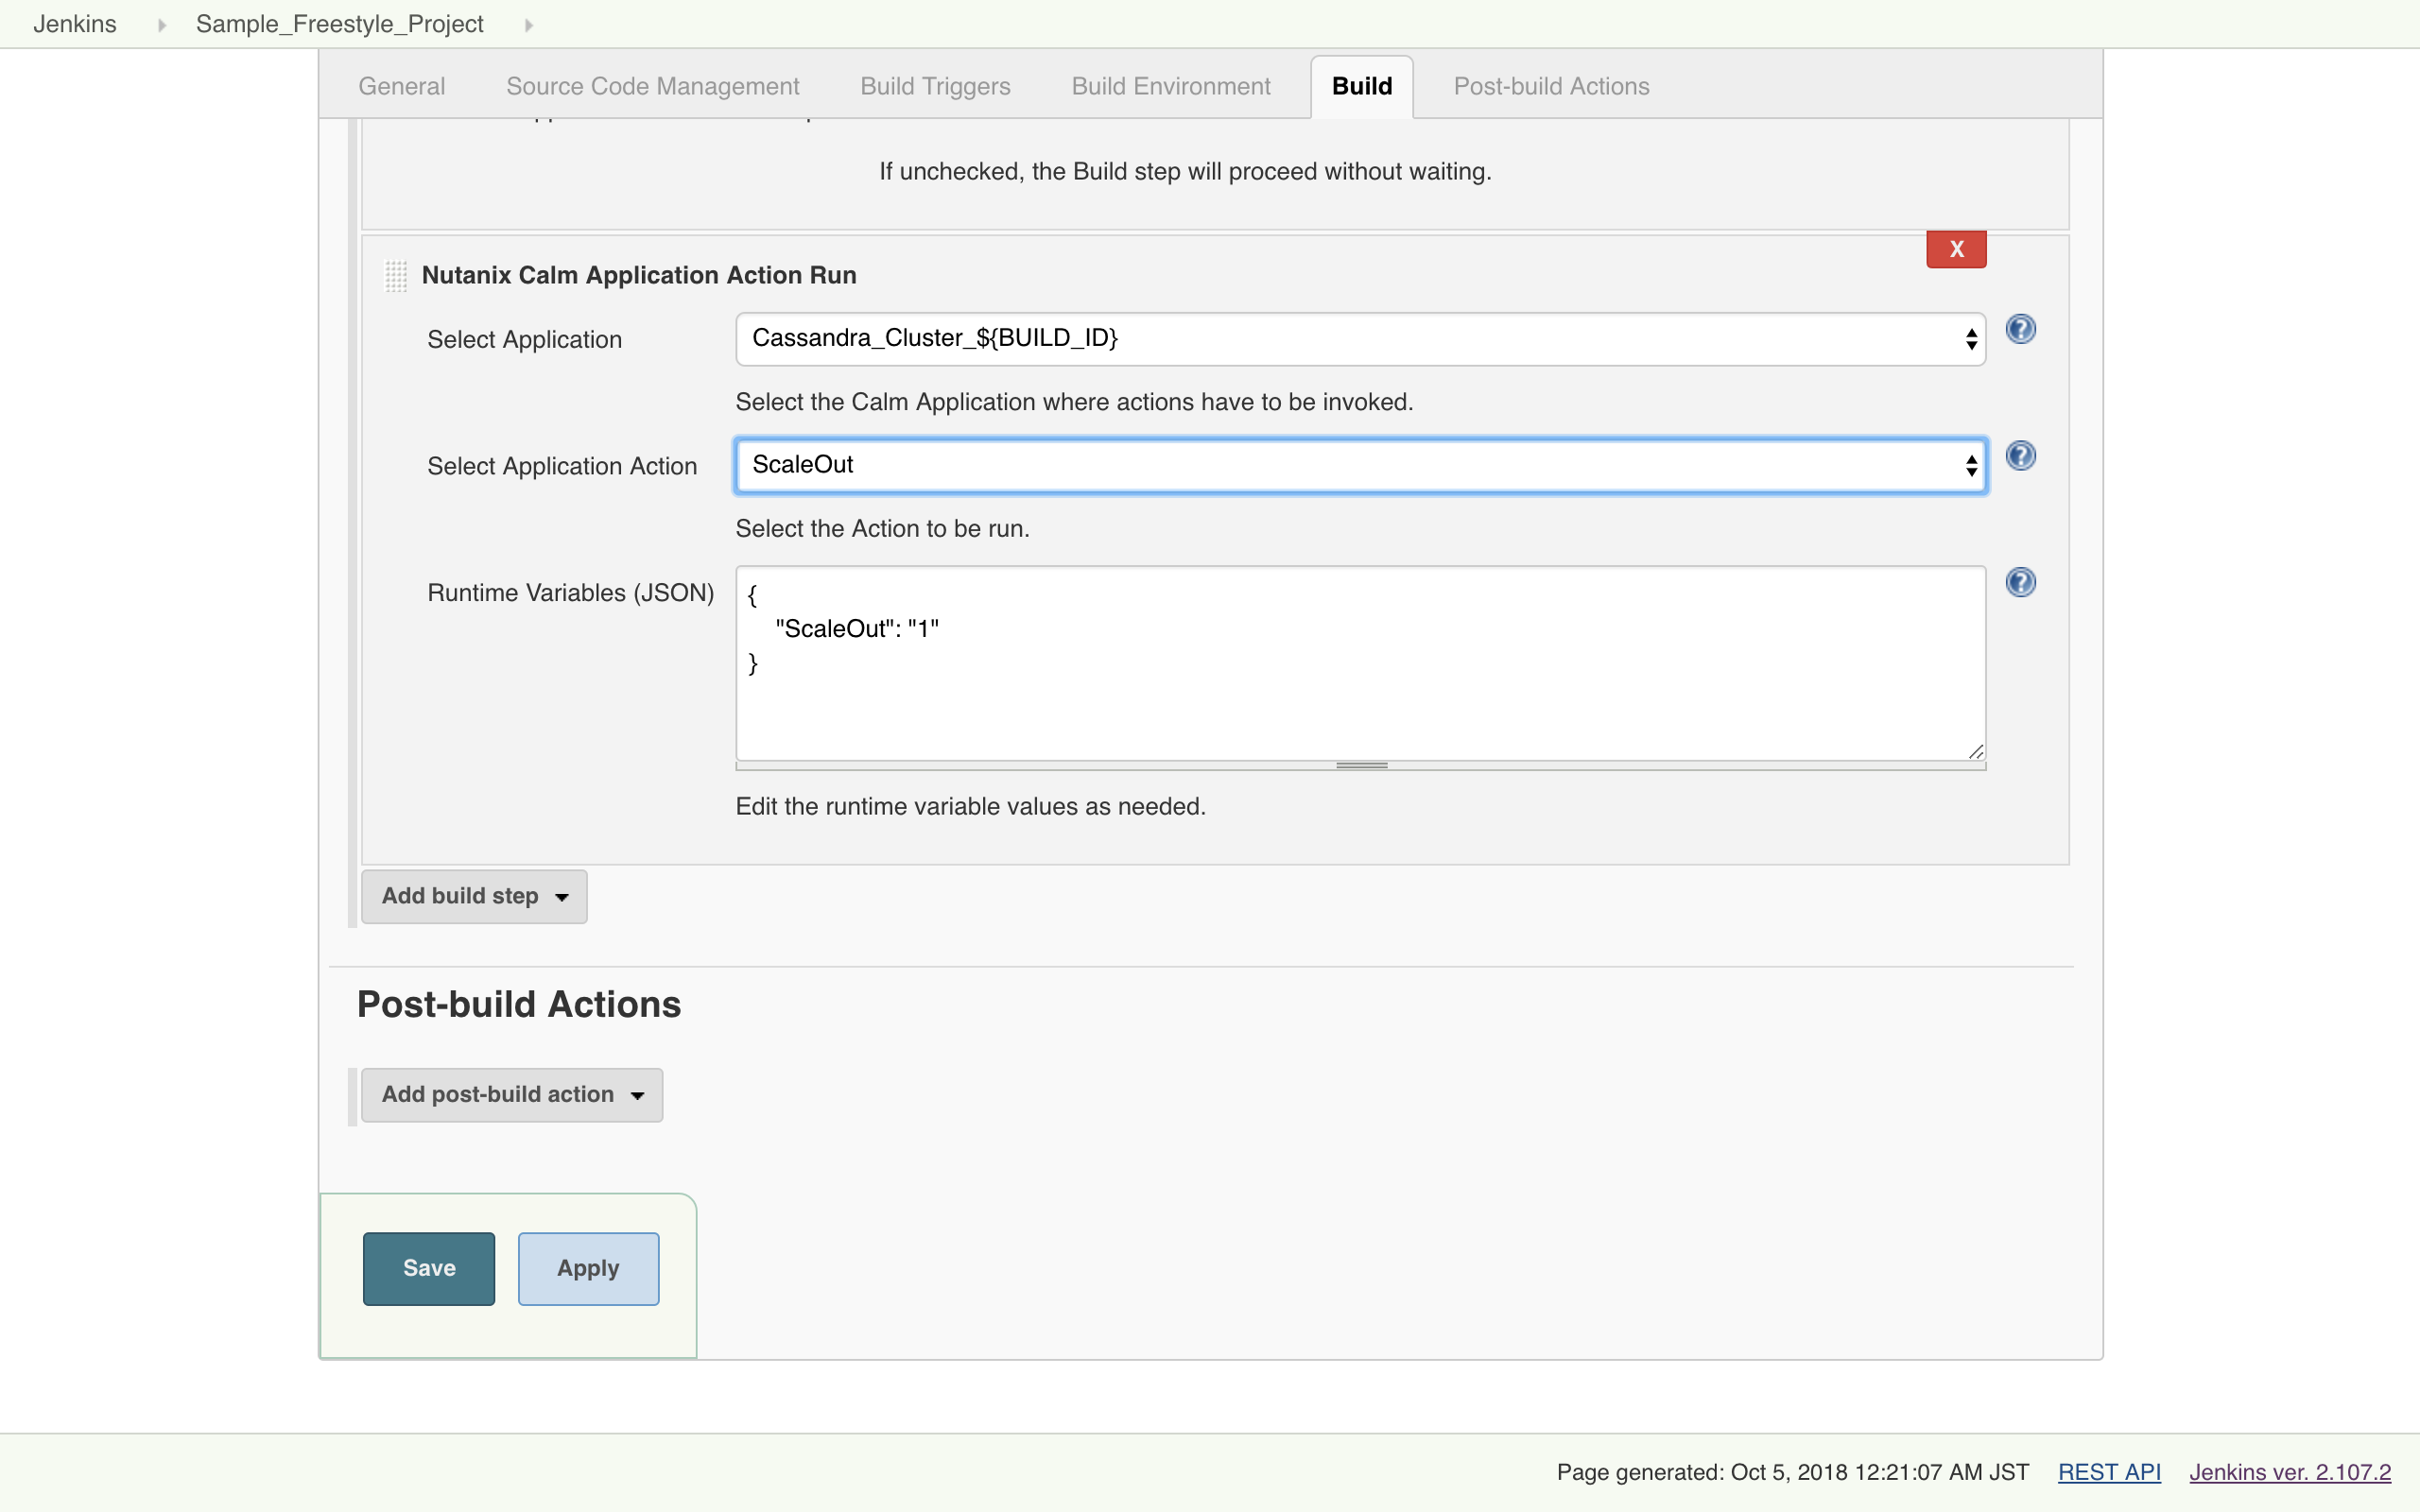
- To invoke actions defined in the Calm blueprint/ application, click on Add Build Step. Select Nutanix Calm Application Action Run.
- In the section
- Select the application name.
- Select the application actions available.
- If necessary, modify the values for the runtime variables available.
- Click on Apply and then Save.
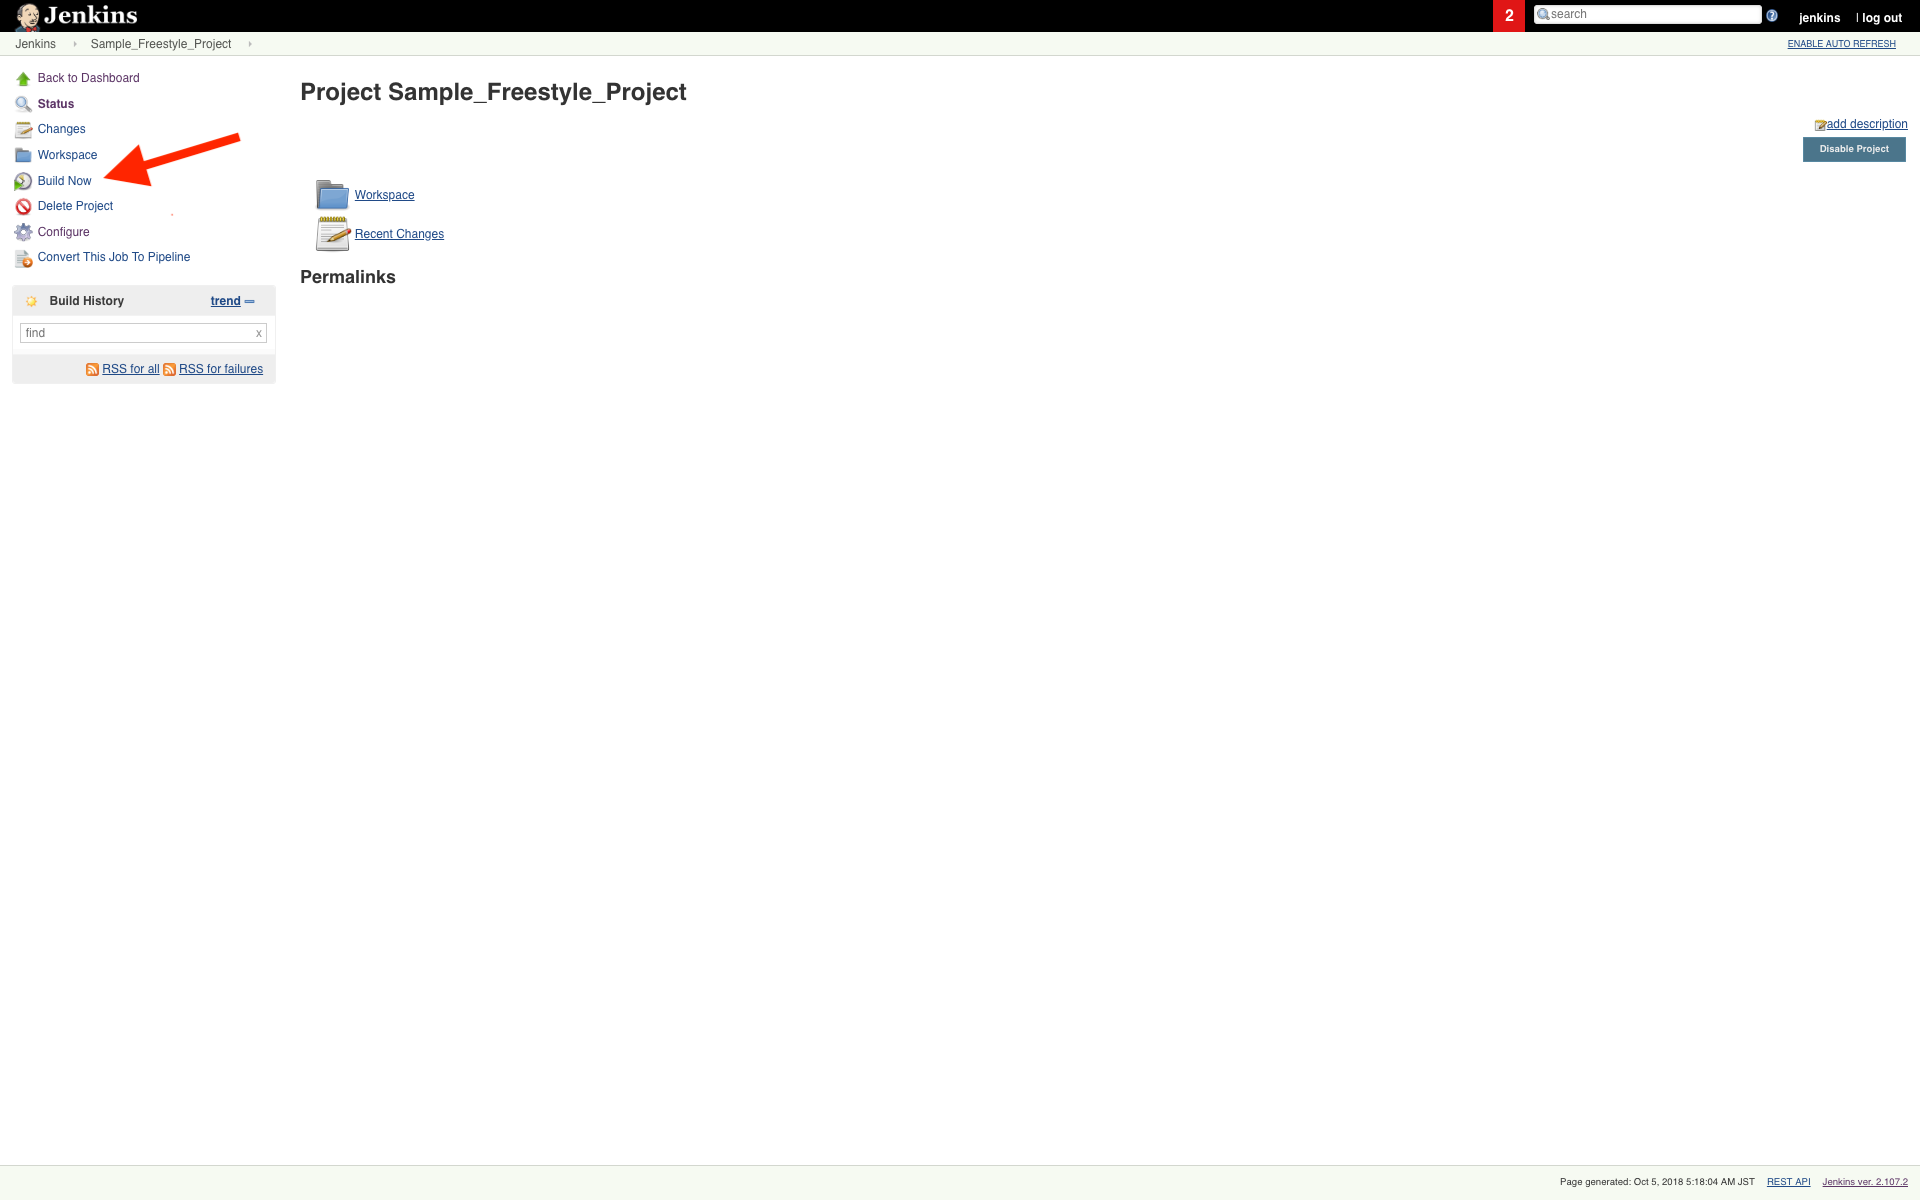
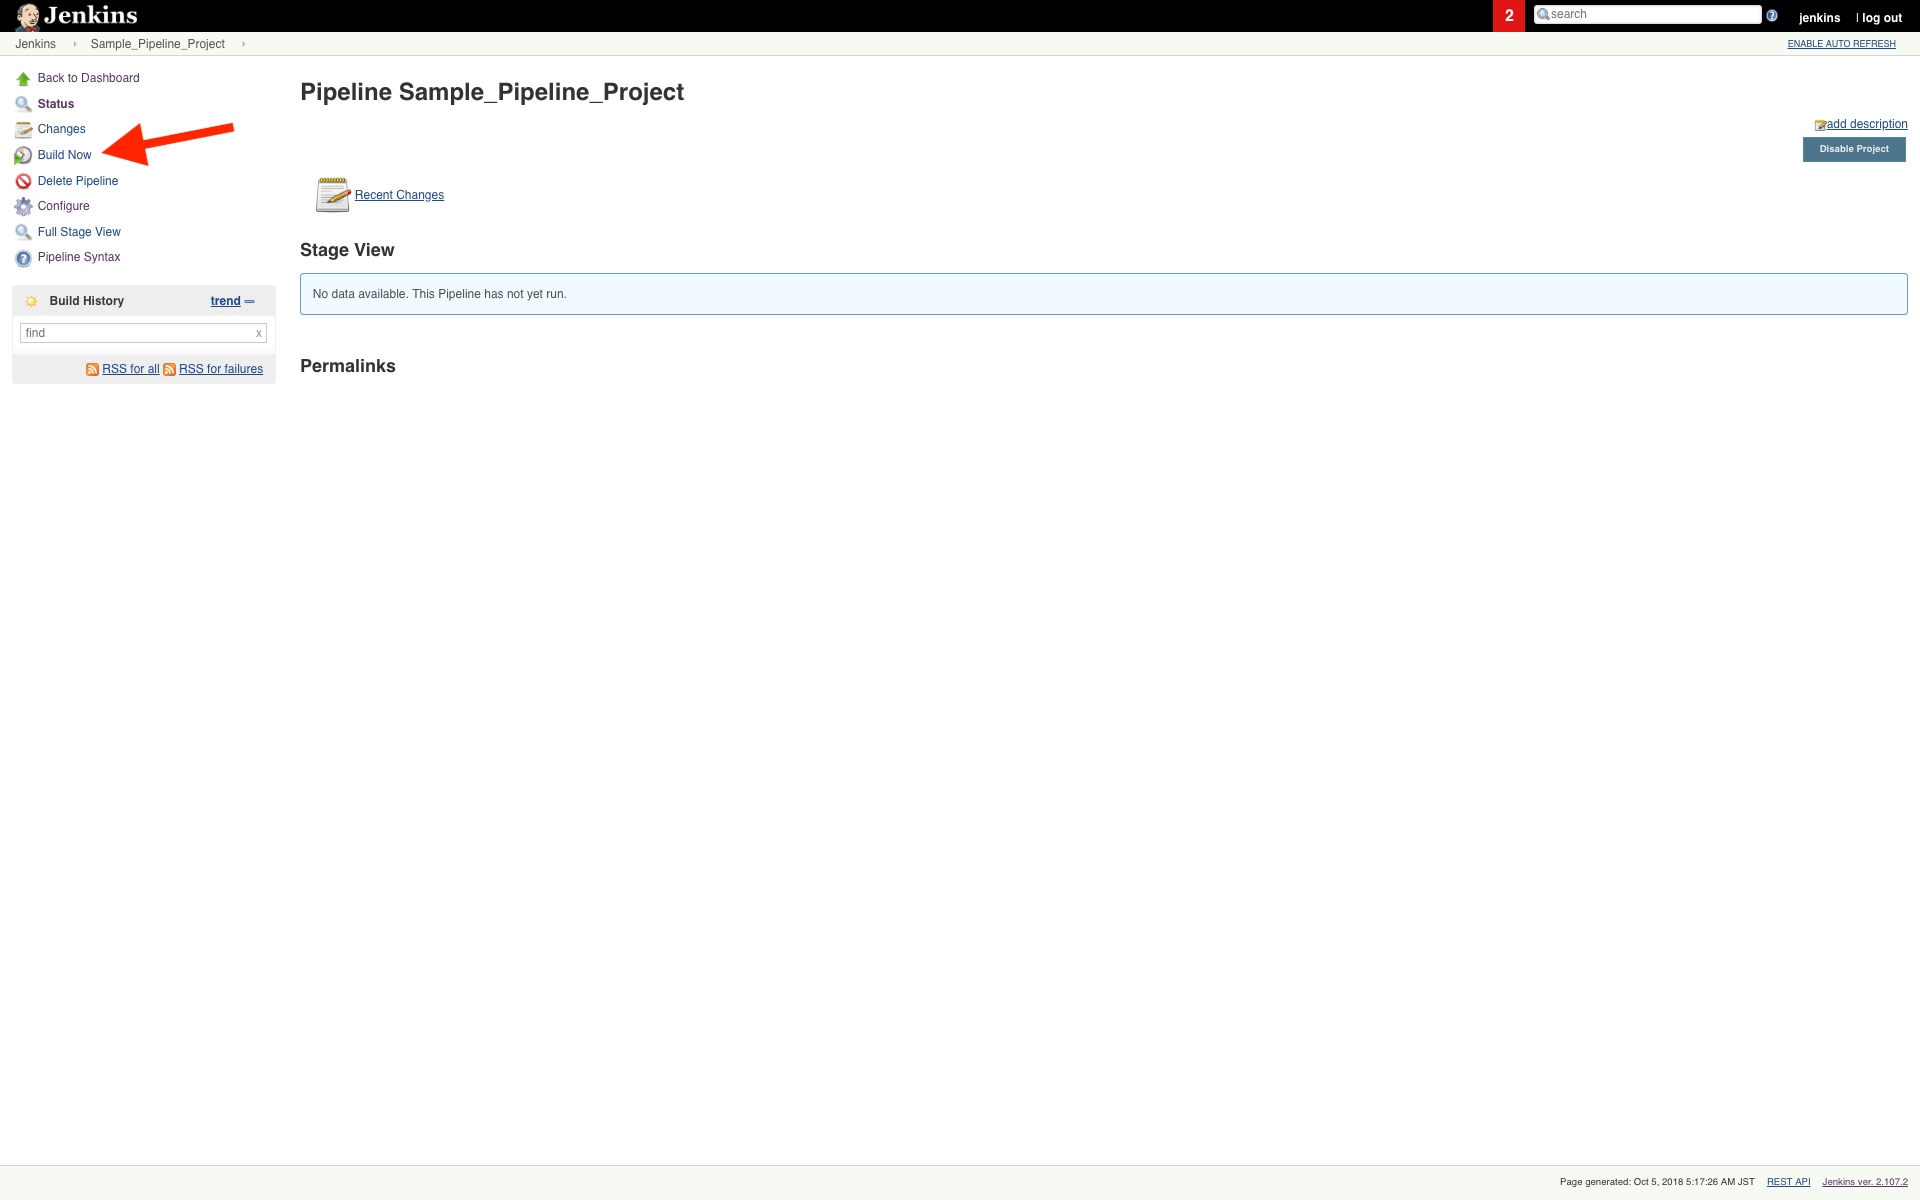
- Click on Build Now to run these build steps.
Jenkins Pipeline:
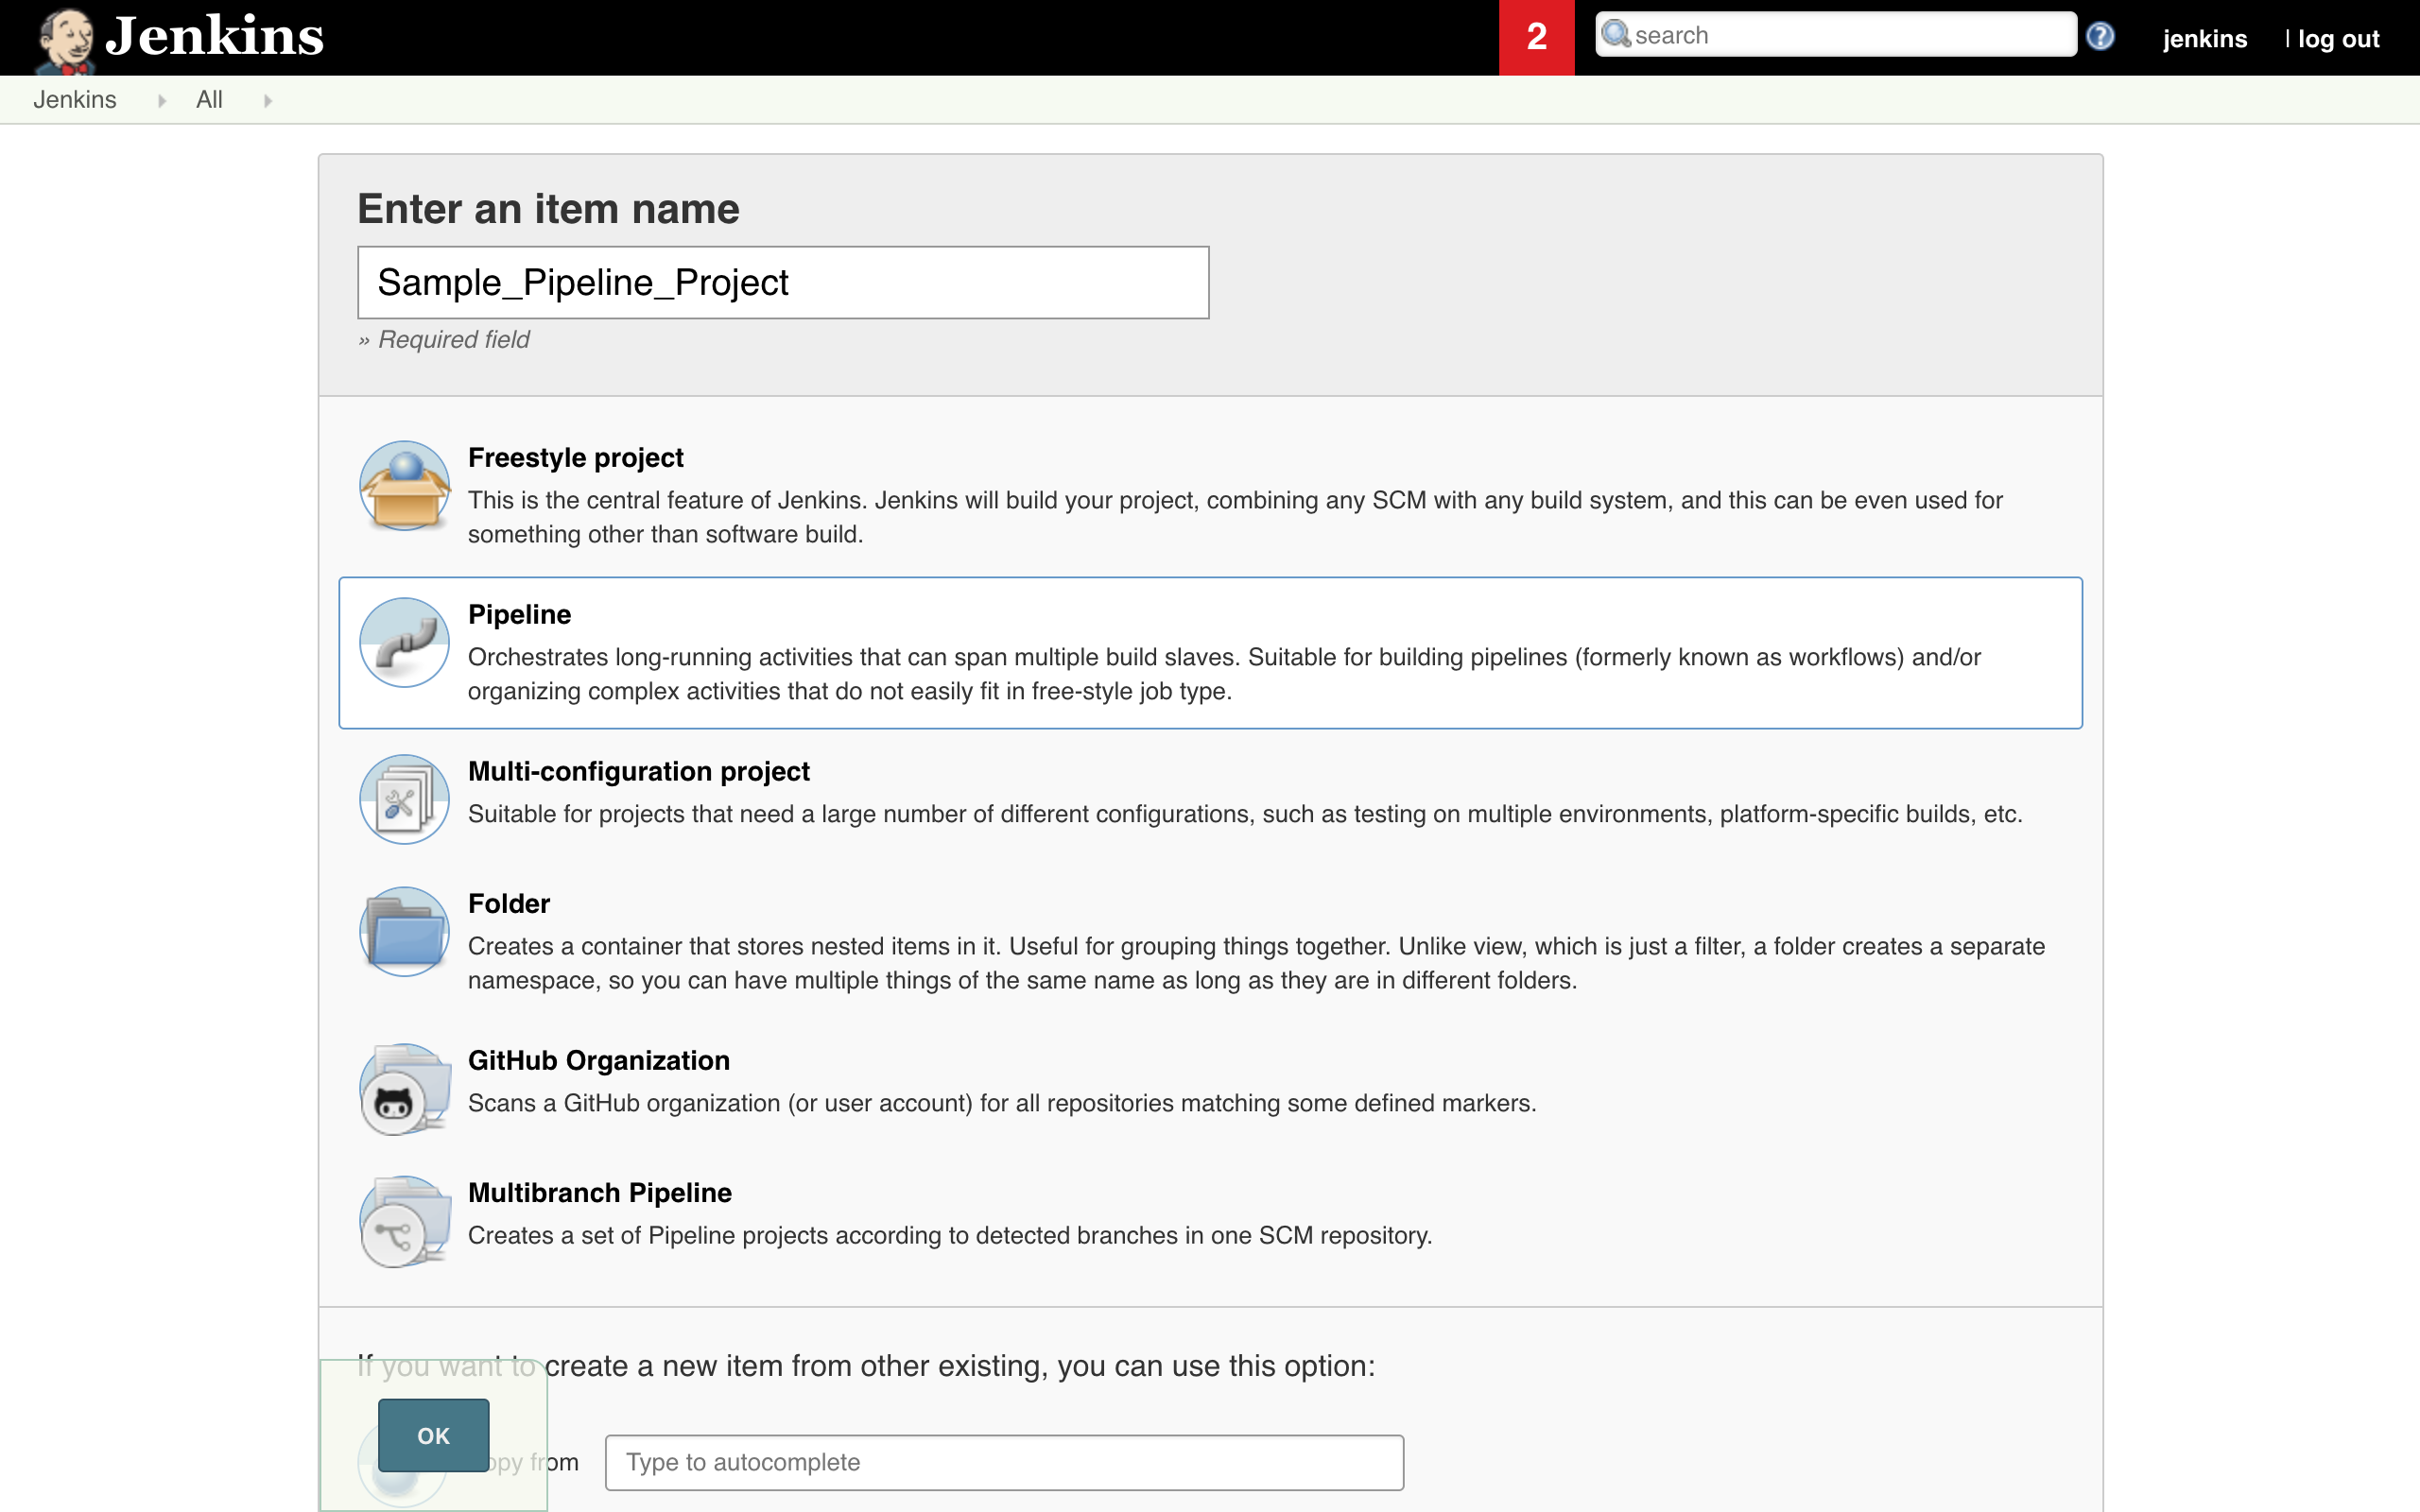
- Click on New Item. Select Pipeline. Enter an item name. Click OK.
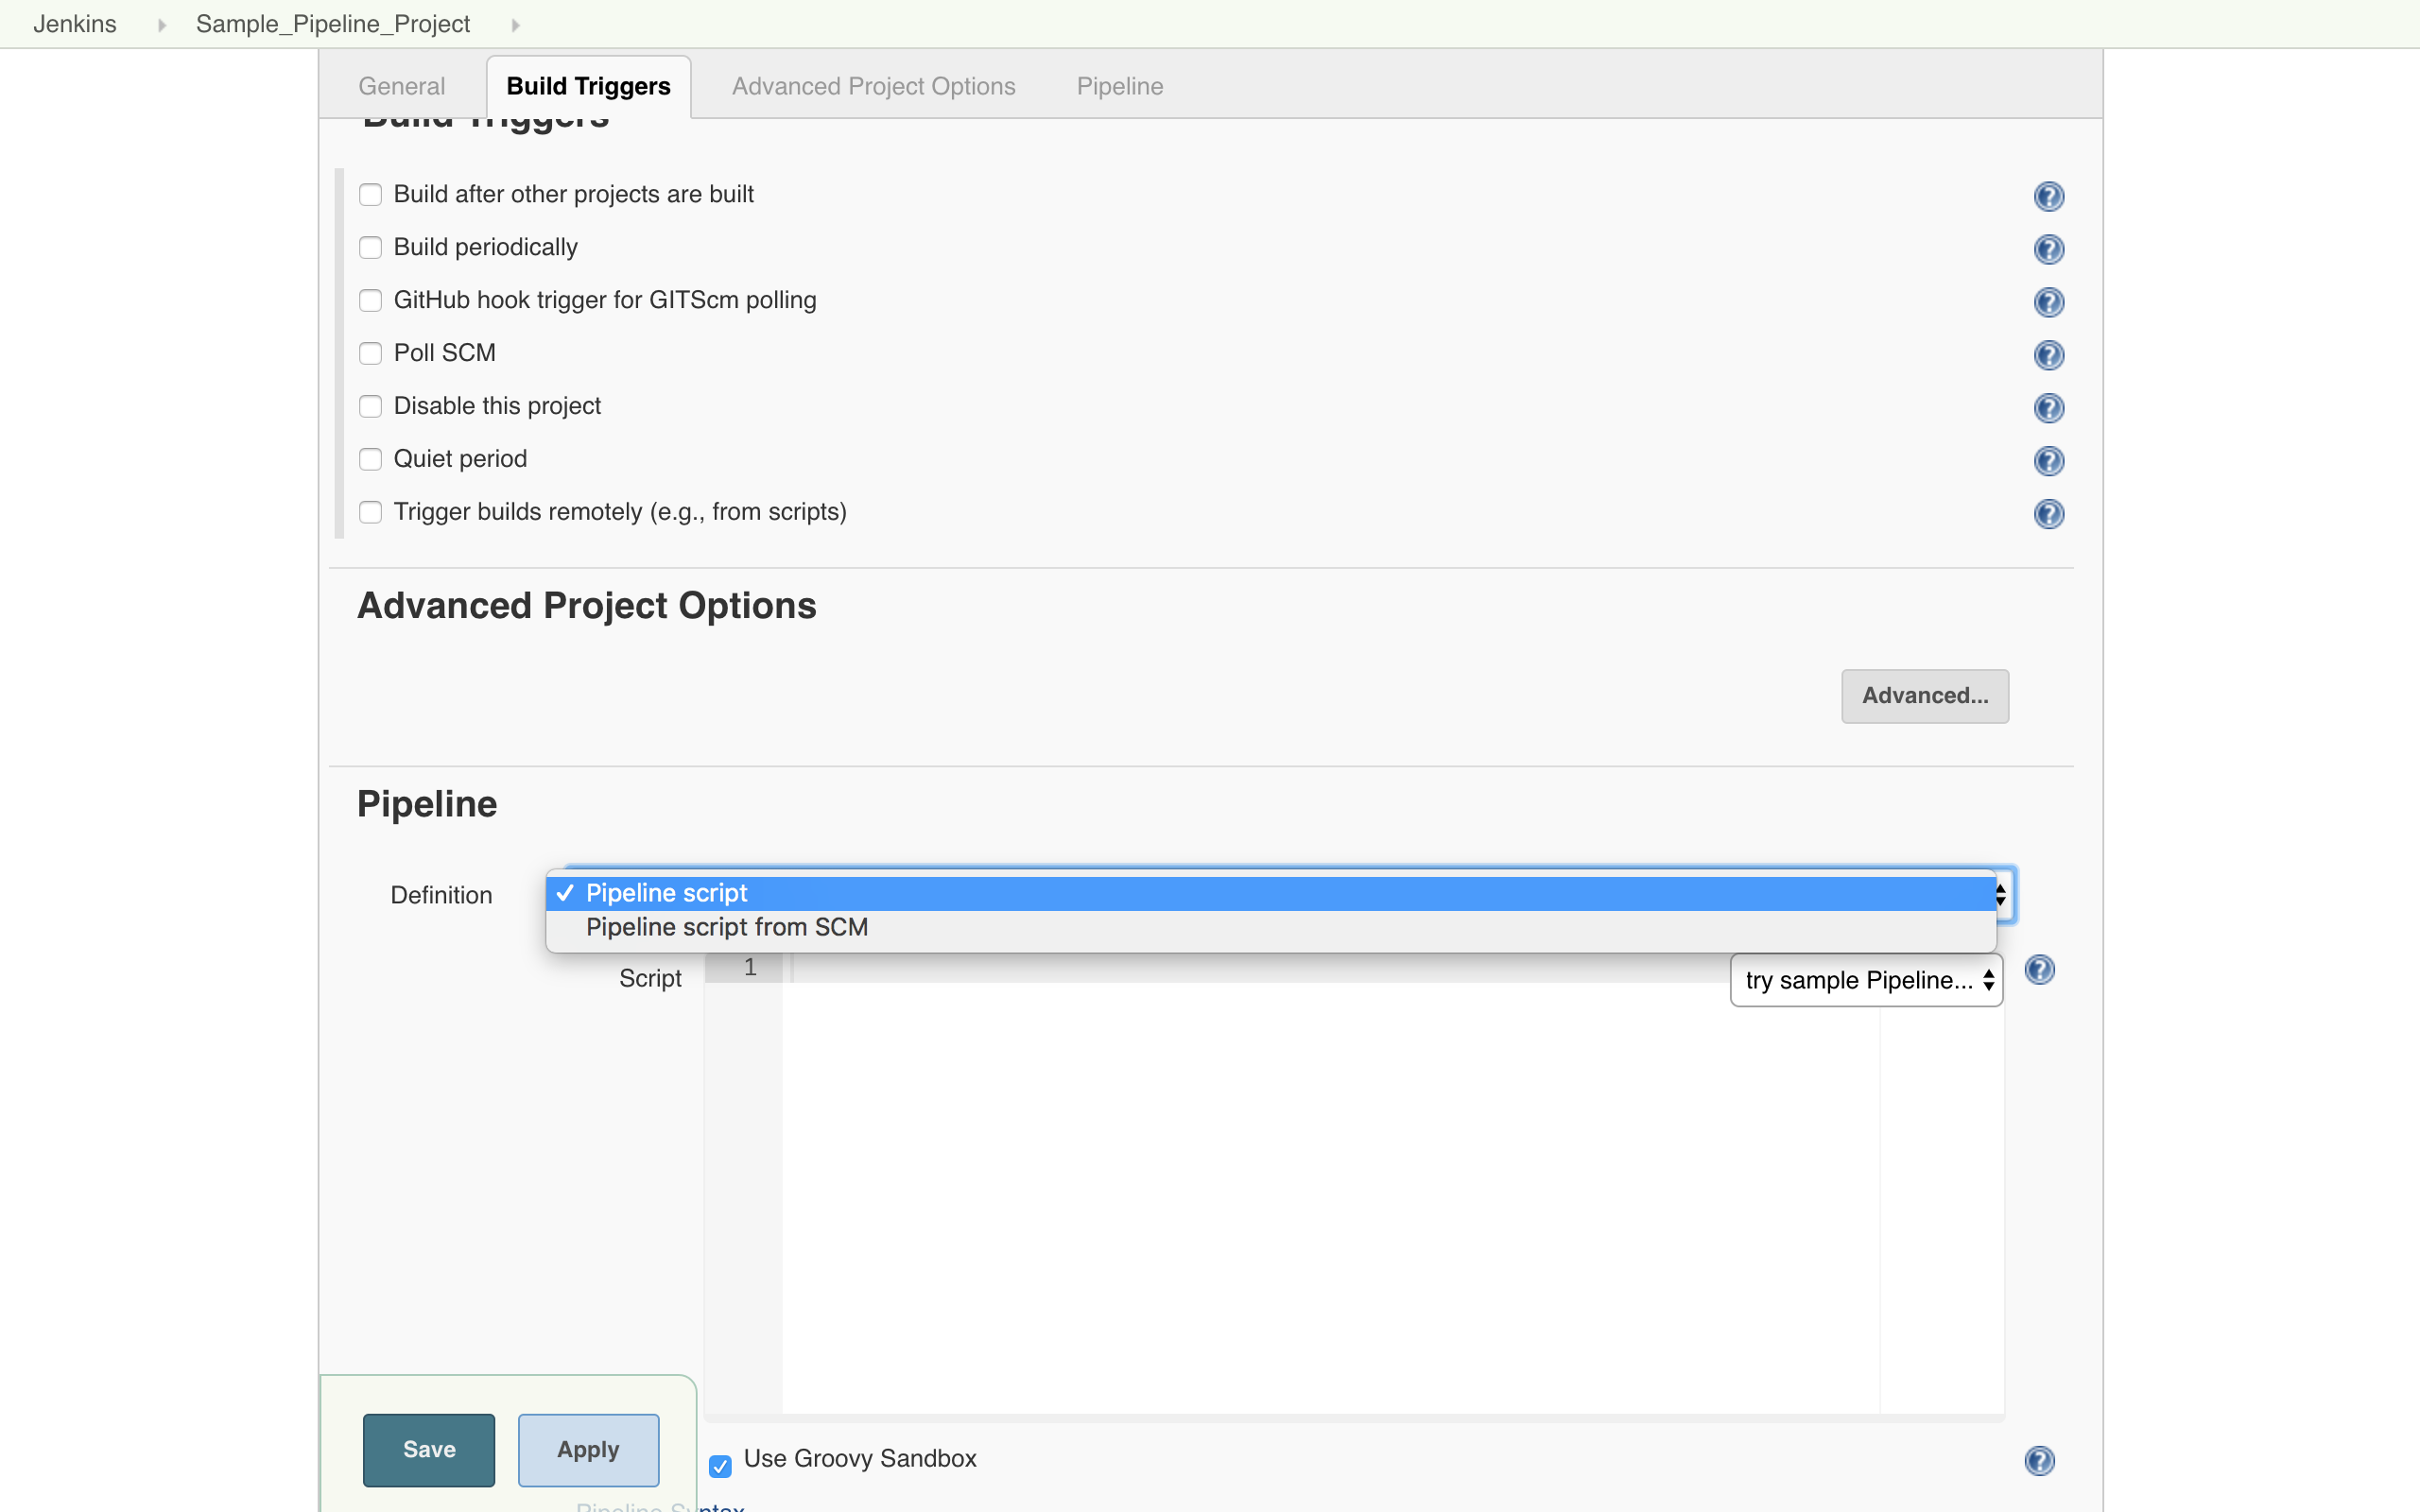
- Select pipeline script in Pipeline Definition section and to generate the pipeline syntax click on the Pipeline Syntax at the bottom.
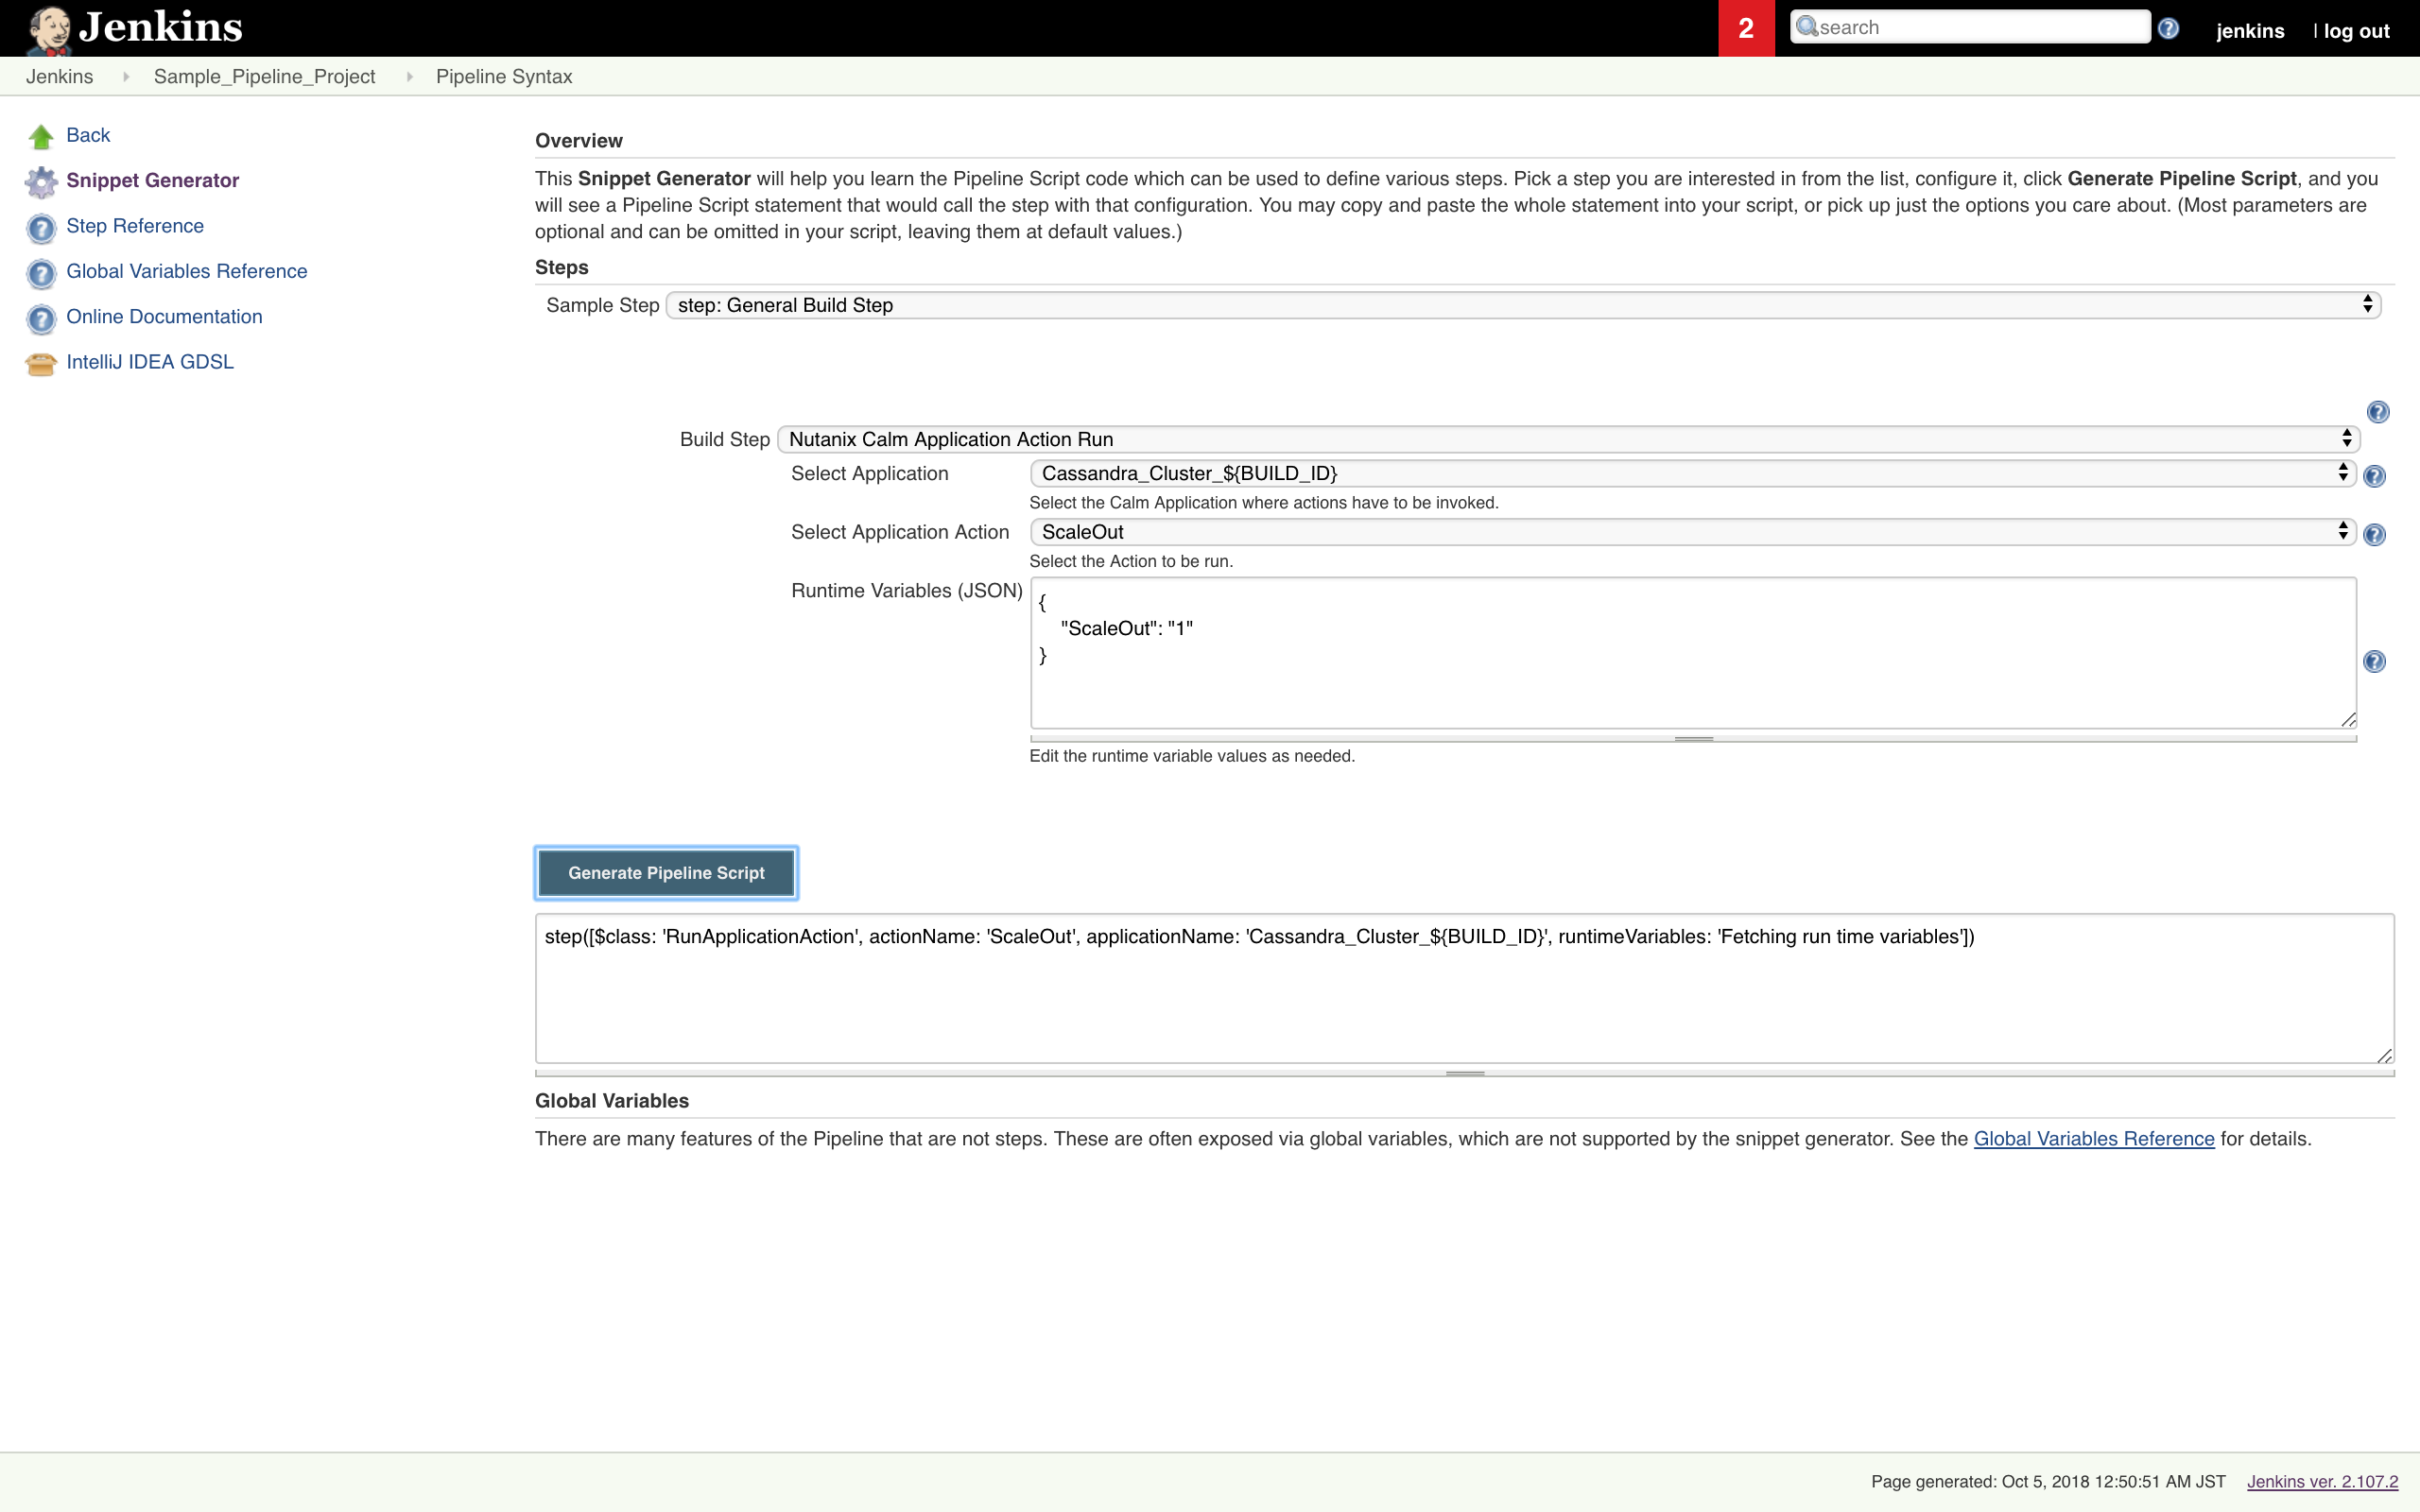
- In the Pipeline Syntax window, select the General build Step in the Sample step dropdown.
- Select Nutanix Calm Blueprint Launch in Build Step
- In the section
- Select the Calm project.
- Select the Blueprint to launch. Blueprint description is fetched and displayed.
- Select the Application profile.
- Modify the values for runtime variables available for that application profile.
- Provide an application name. BUILD_ID is appended by default to the application name to uniquely identify it in Calm.
- Select the option if you want Jenkins job to wait for blueprint launch to complete before proceeding to the next step.
- Click on Generate Pipeline Script.
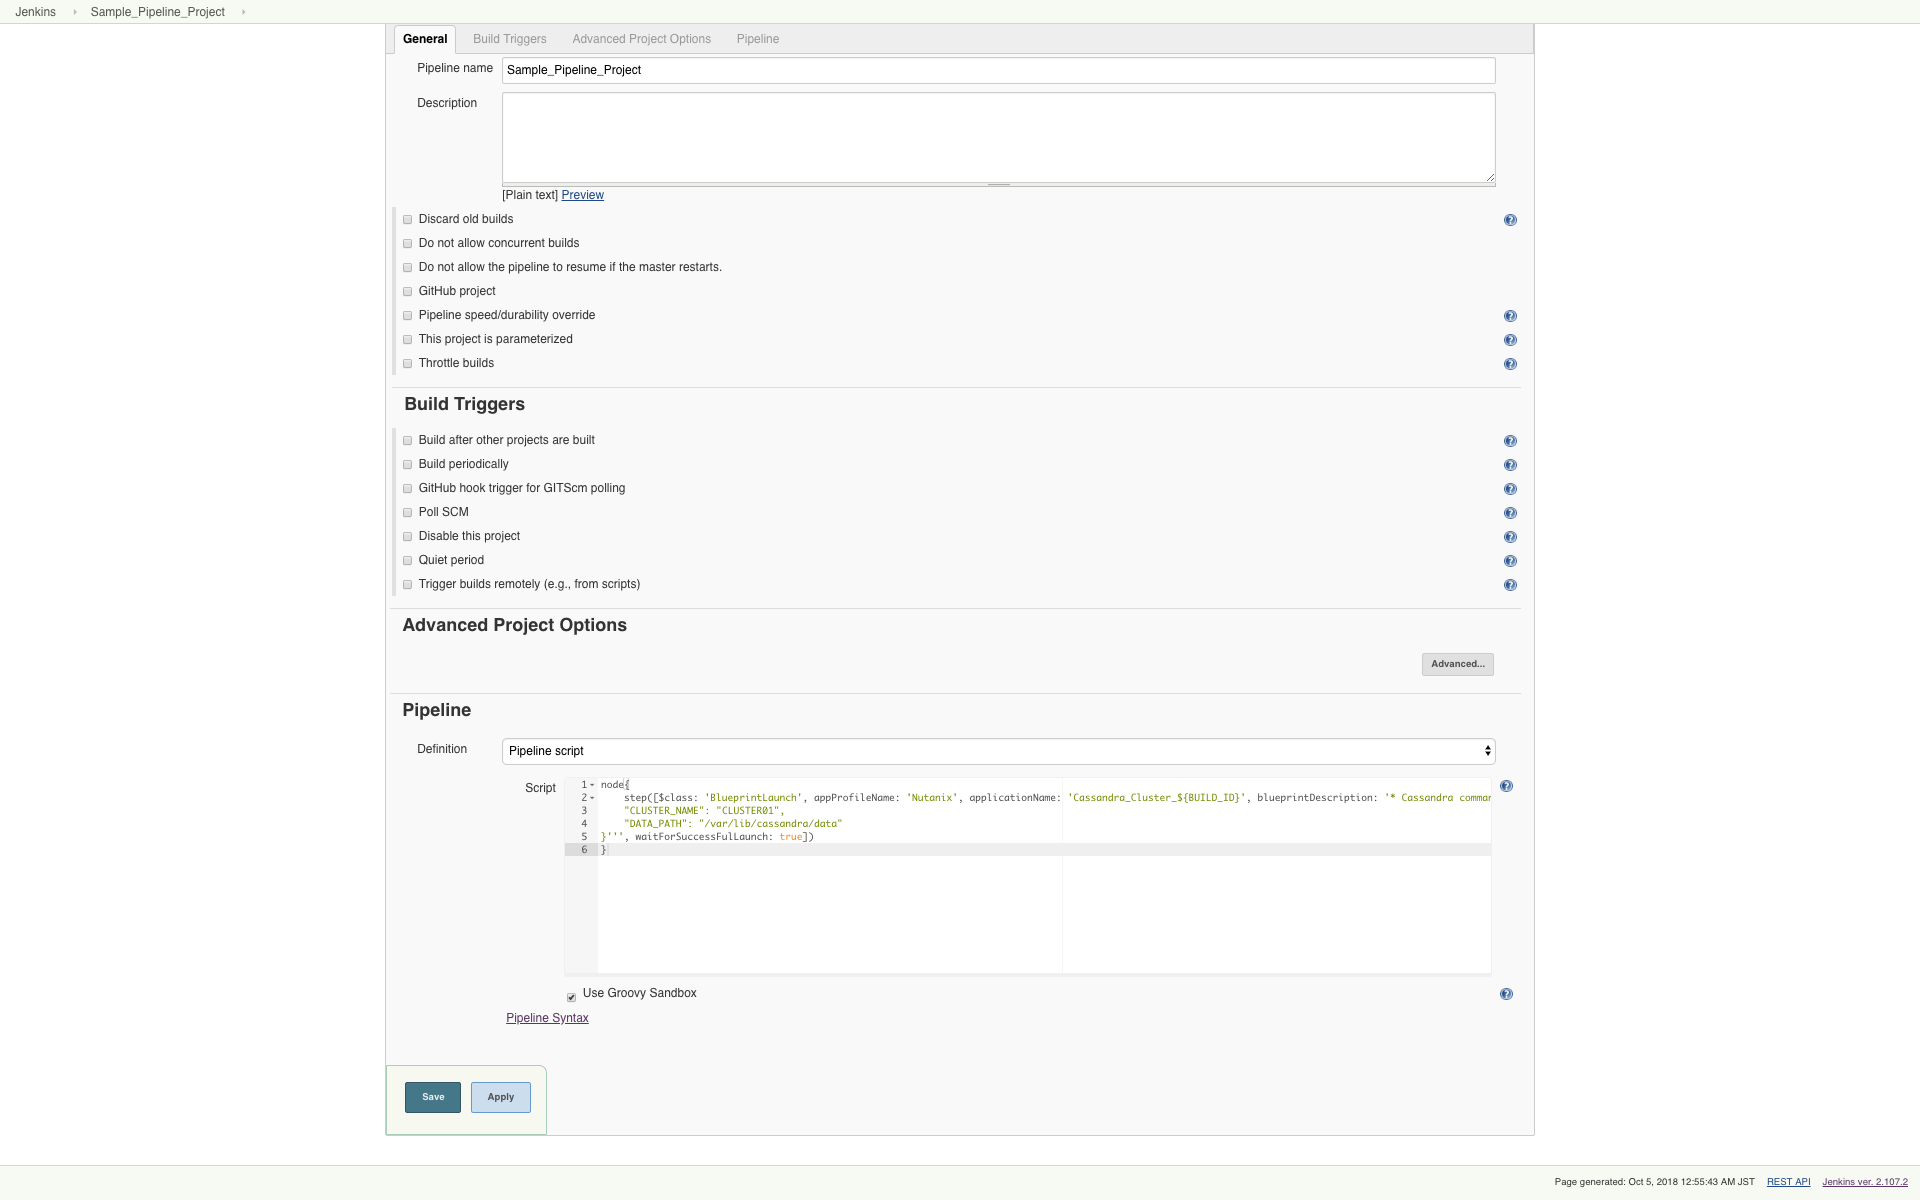
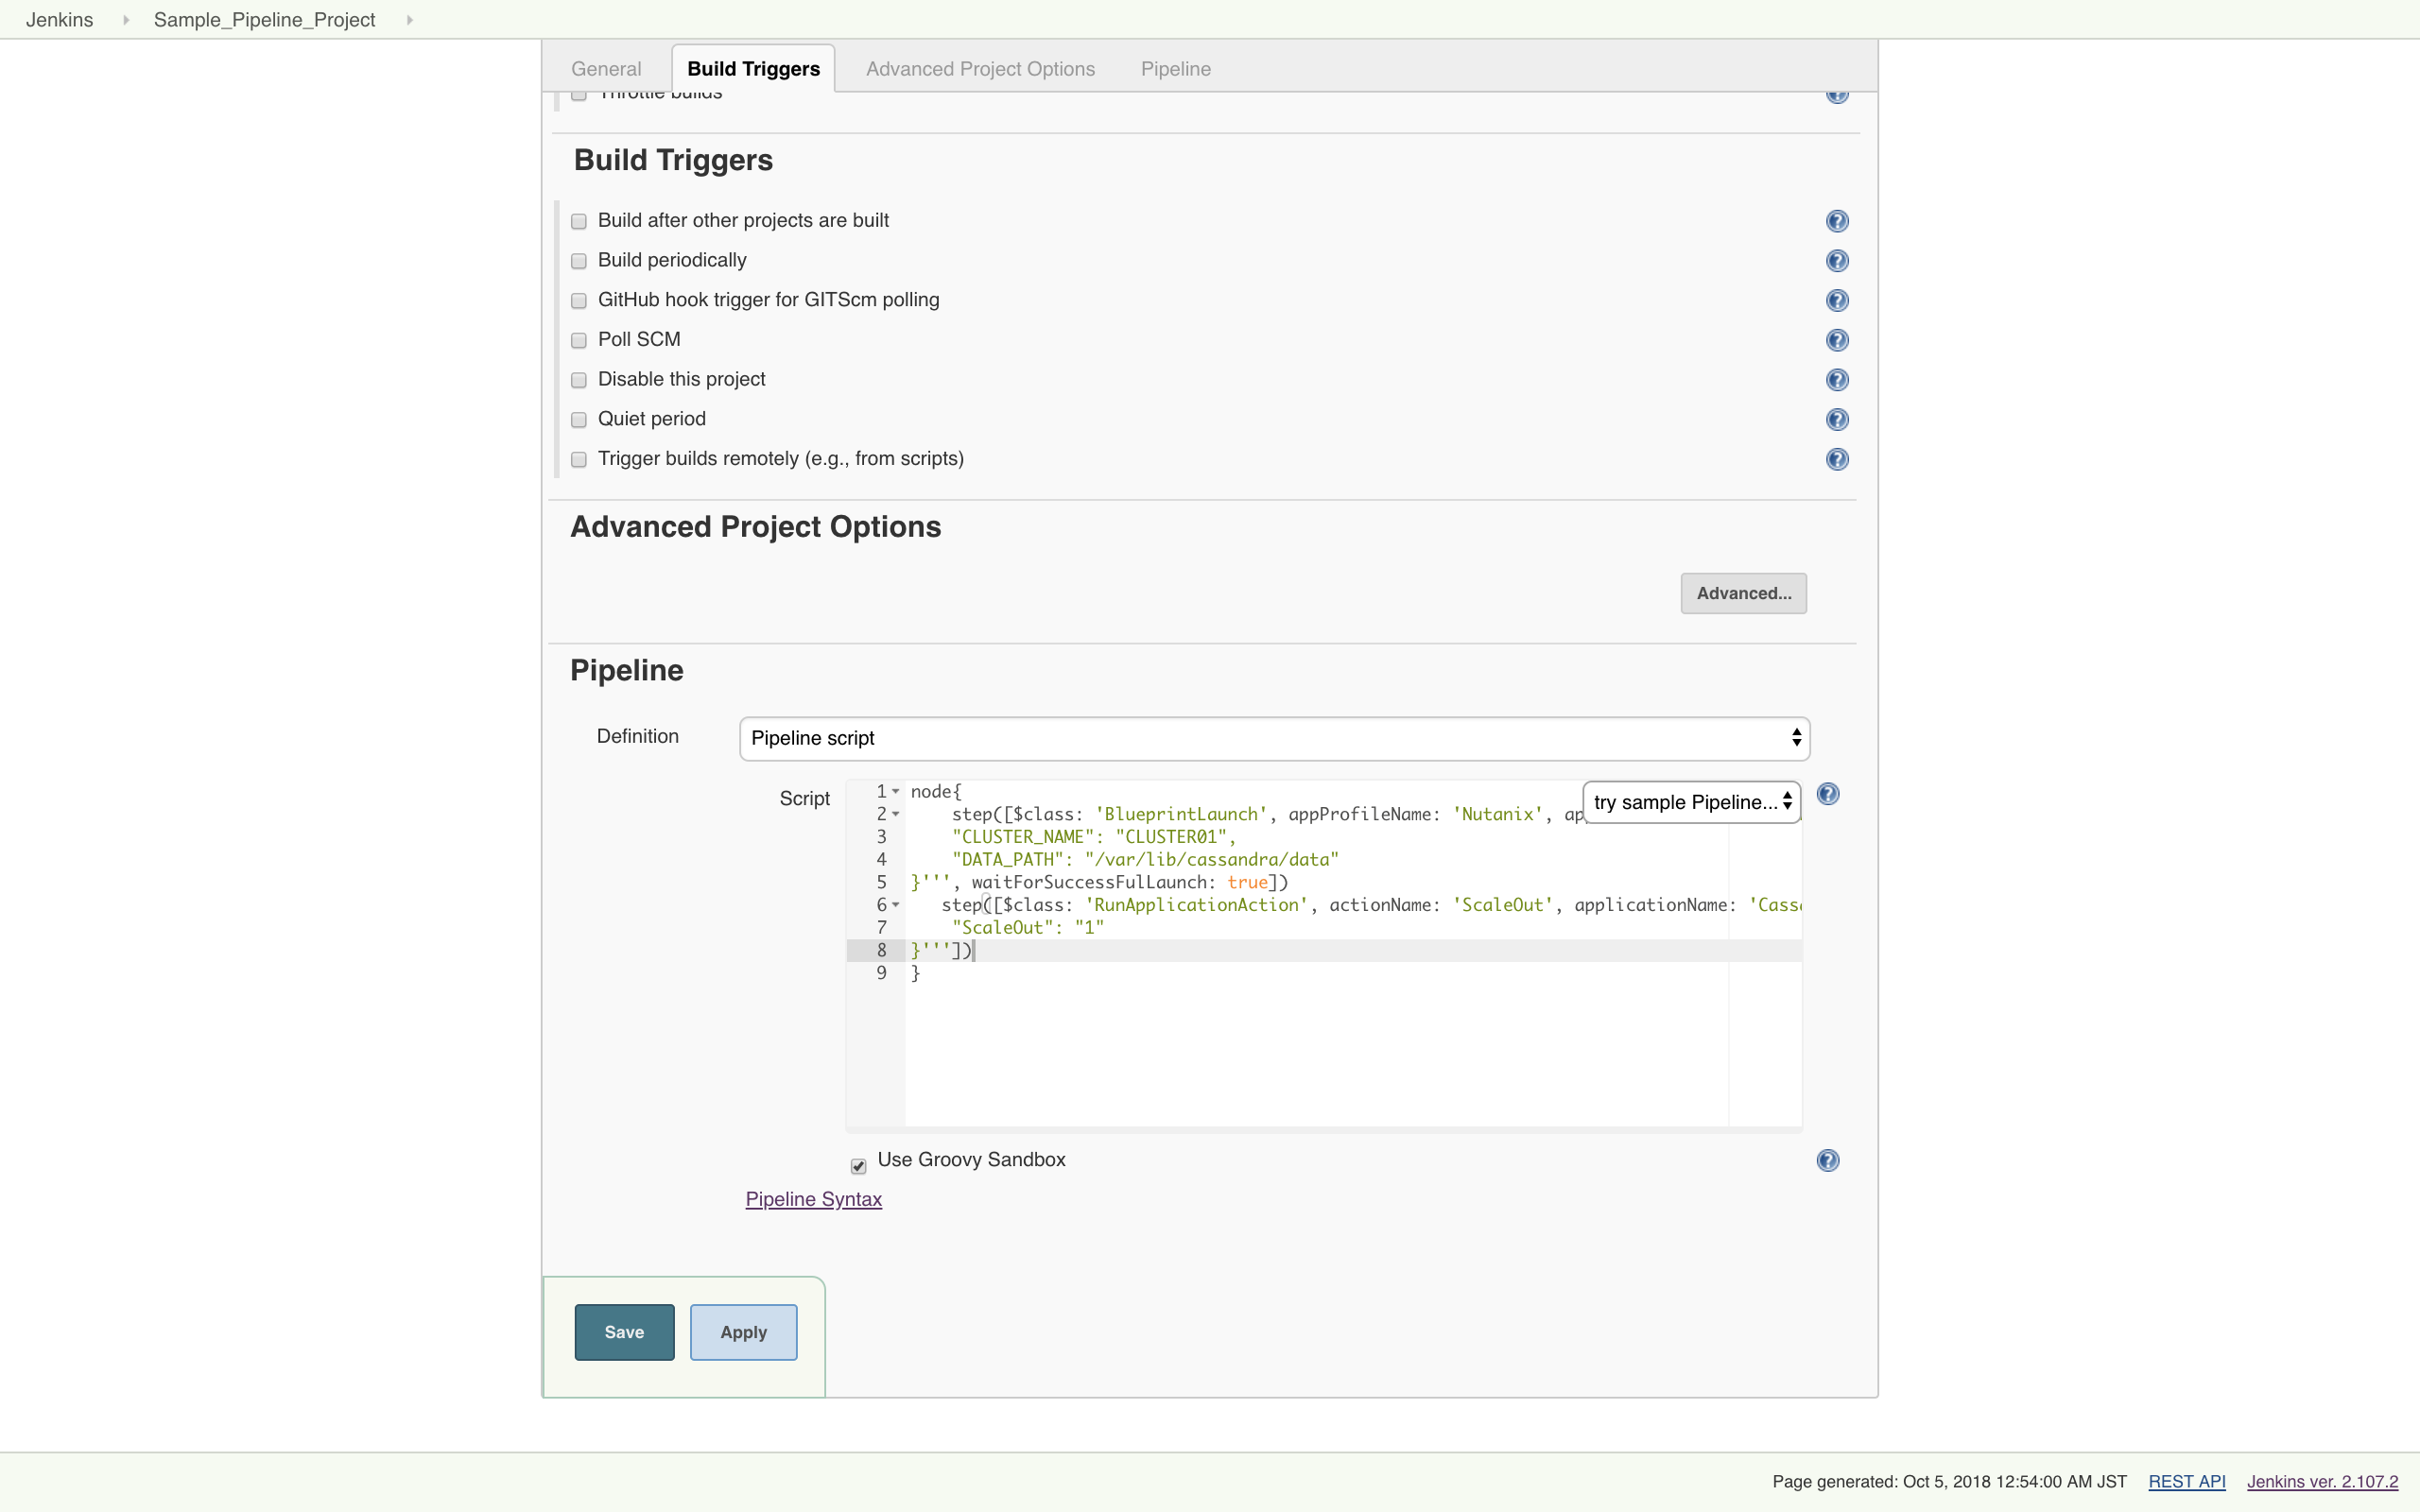
- Copy and paste the text in the box below into the pipeline script box in {} under node.
- Follow same steps to generate the pipeline syntax for Nutanix Calm Application Action Run.
- Copy and paste the text in the box below into the pipeline script box in {} under node.
Click on Apply and then Save.
CNow we can click on Build Now to run these build steps.
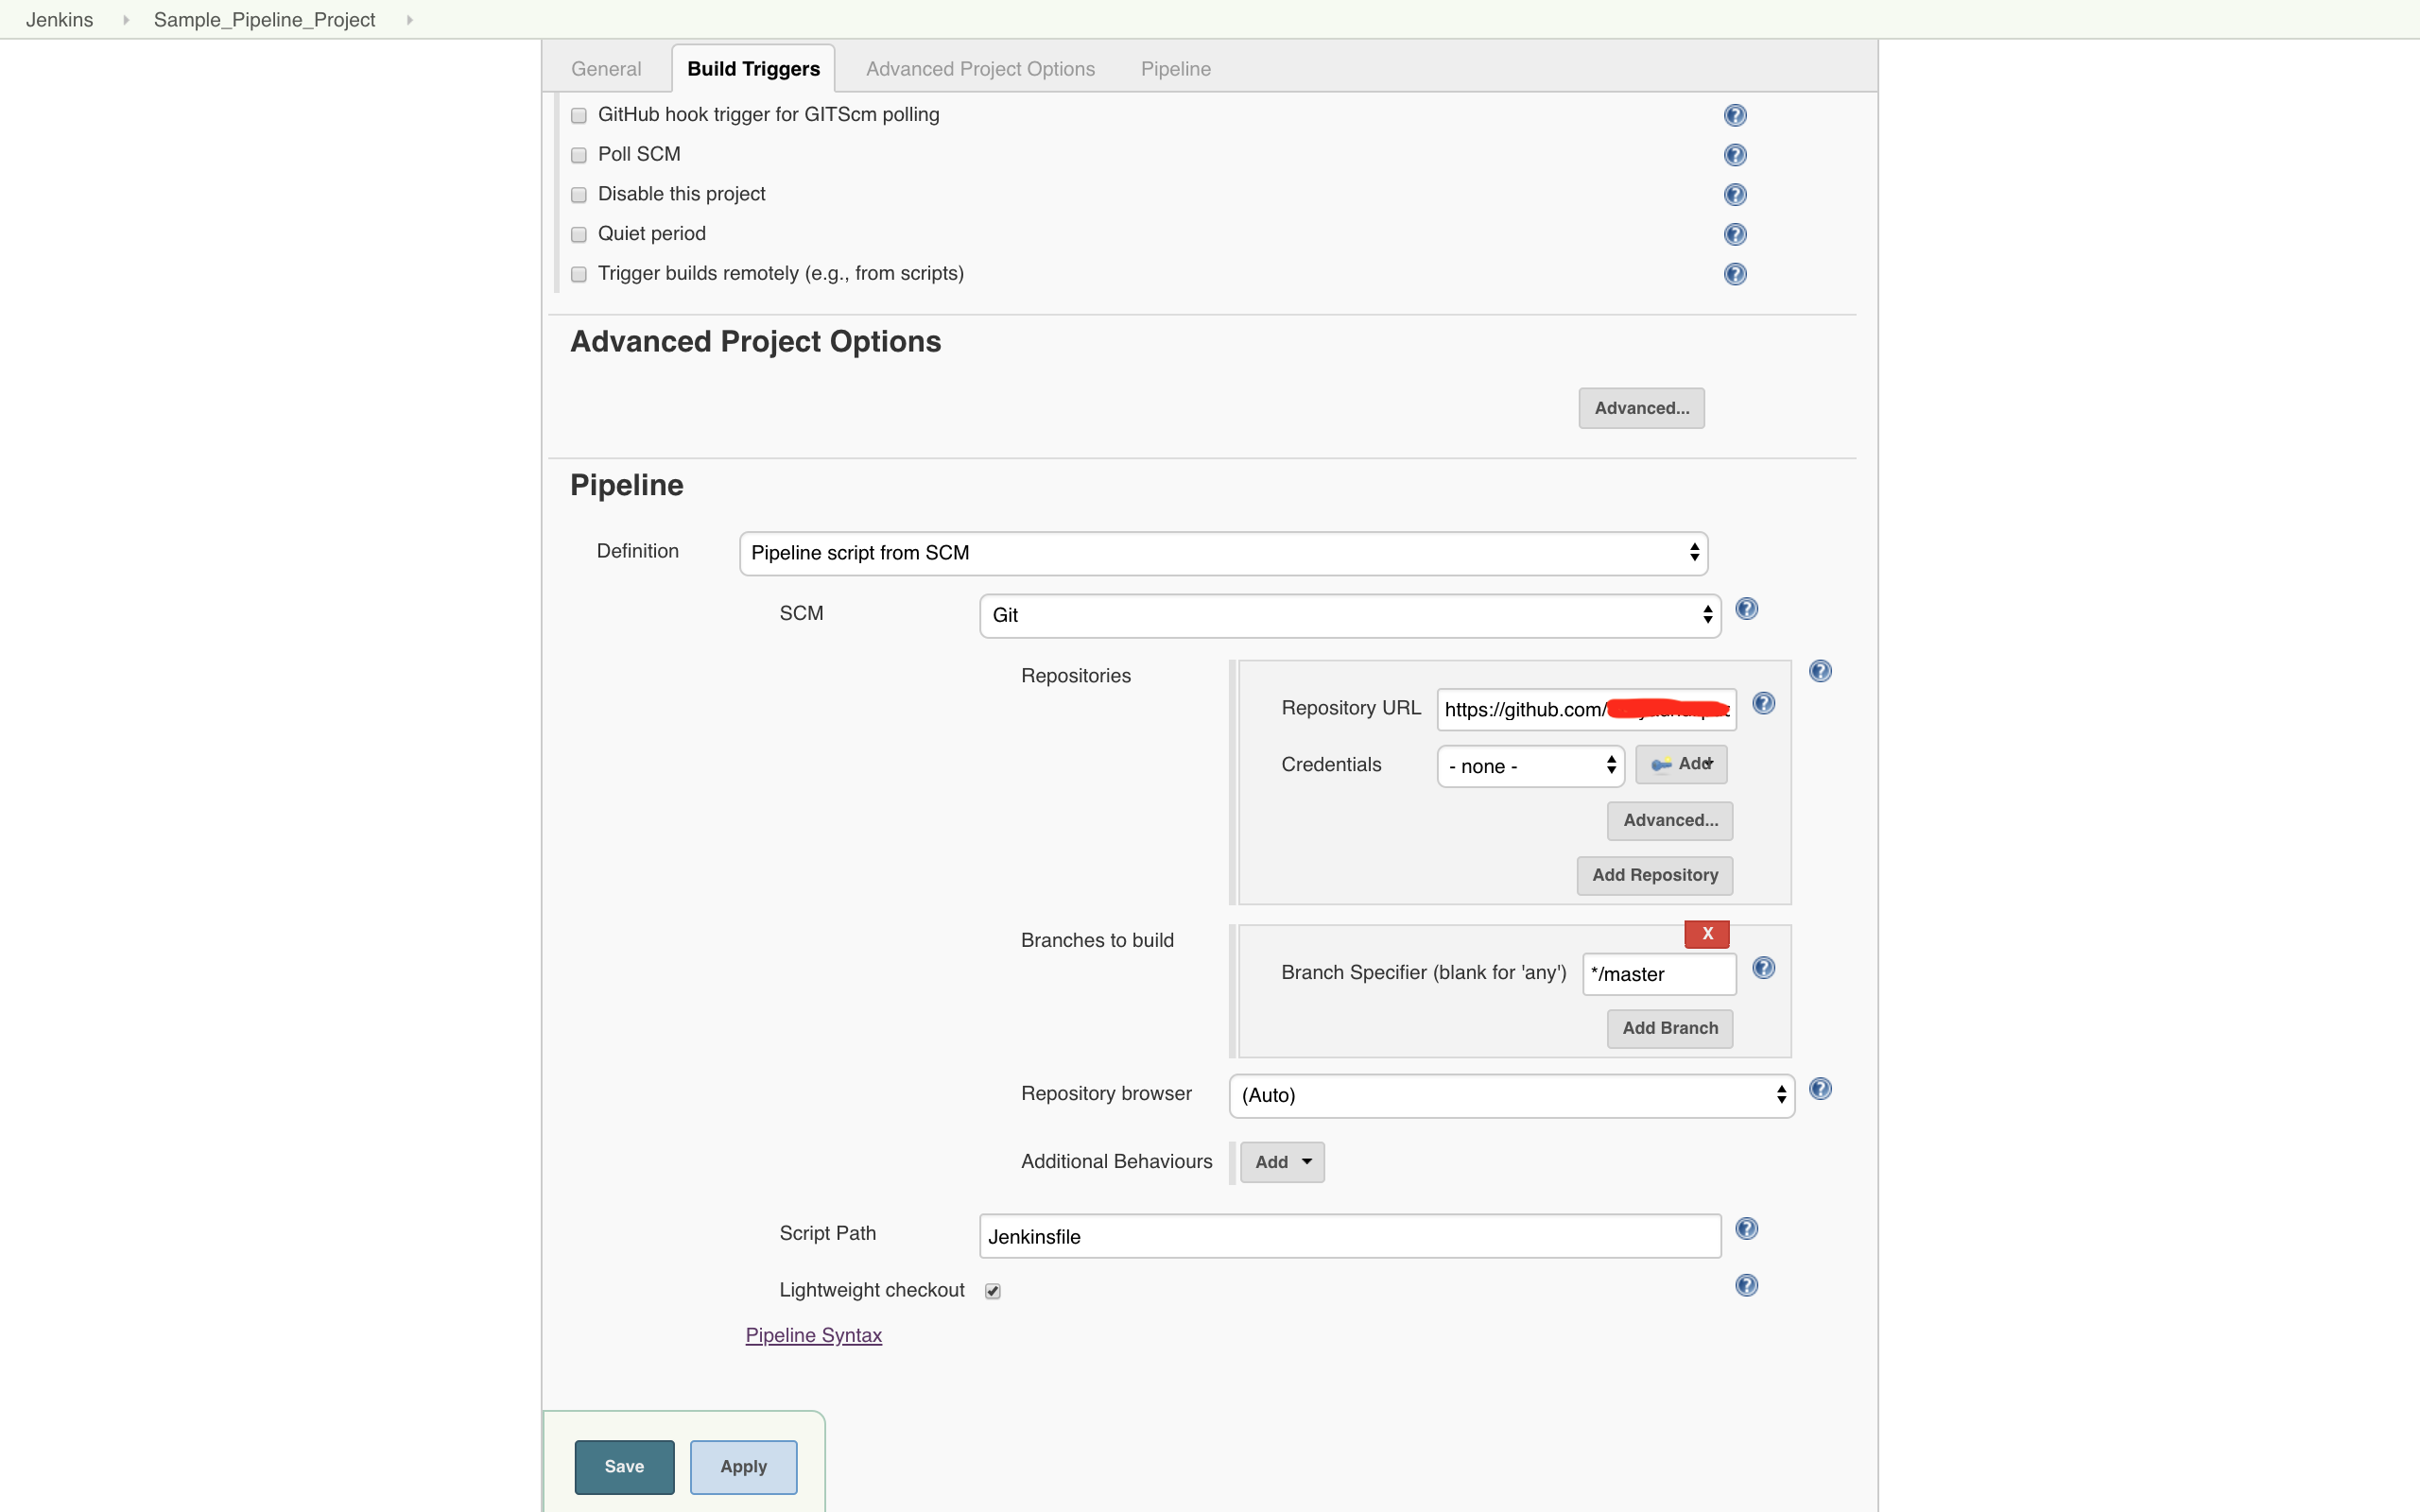
Pipeline scripts can also be invoked from SCM in Pipeline Definition section
${CalmServicesIP} is the exposed Jenkins environment variable which gives the output like InstanceName_ProviderType=IP For example {mssqlvm-0-190103-040010_VMWARE_VM=10.46.140.18, iis1-0-190103-040009_VMWARE_VM=10.46.141.34, iis2-0-190103-040009_VMWARE_VM=10.46.140.91}
