Note: There is no need to install Jenkins on the agent machine.
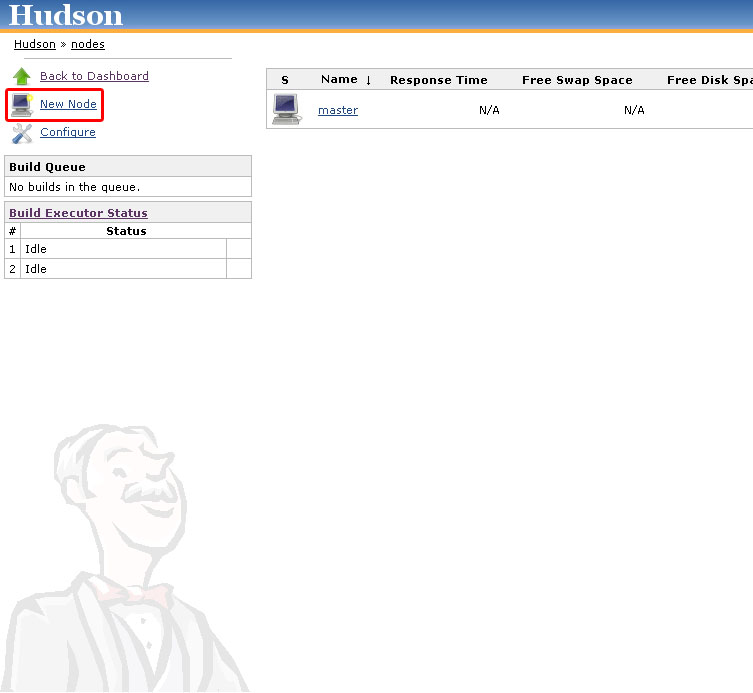
- On your master machine go to Manage Jenkins > Manage Nodes.

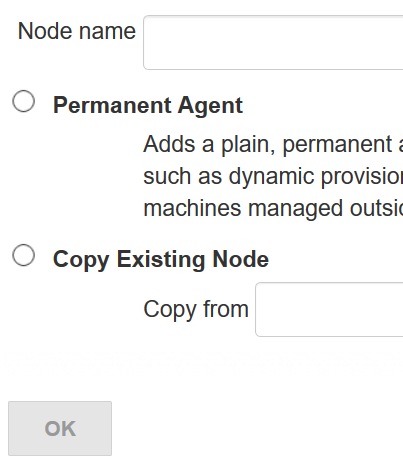
- New Node
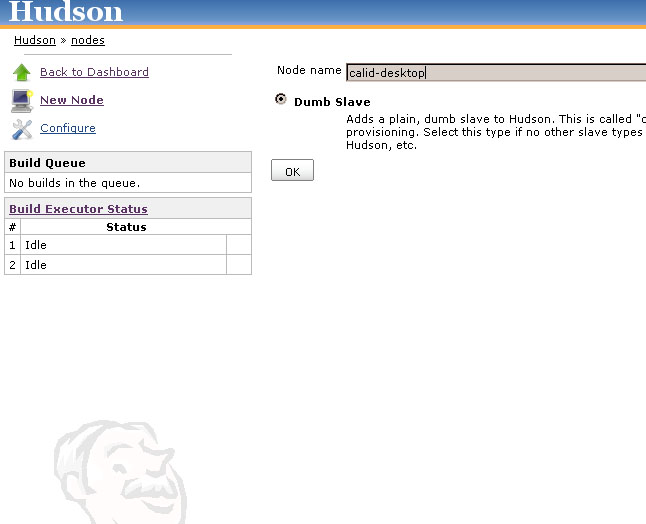
- Enter Node Name
- Select Permanent Agent
- Press OK.
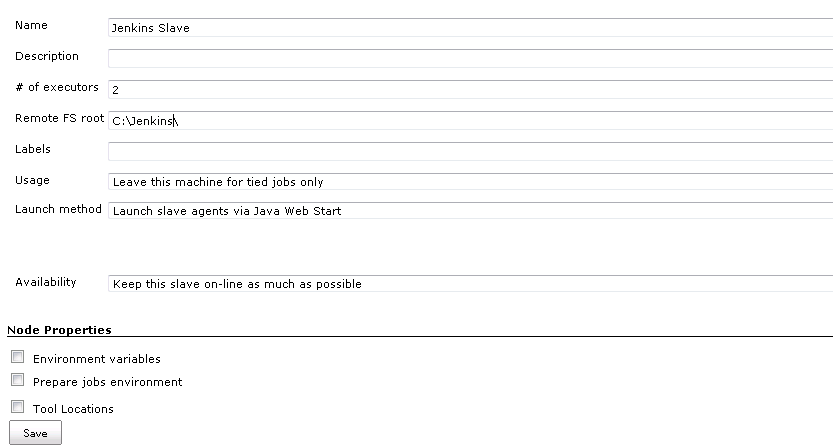
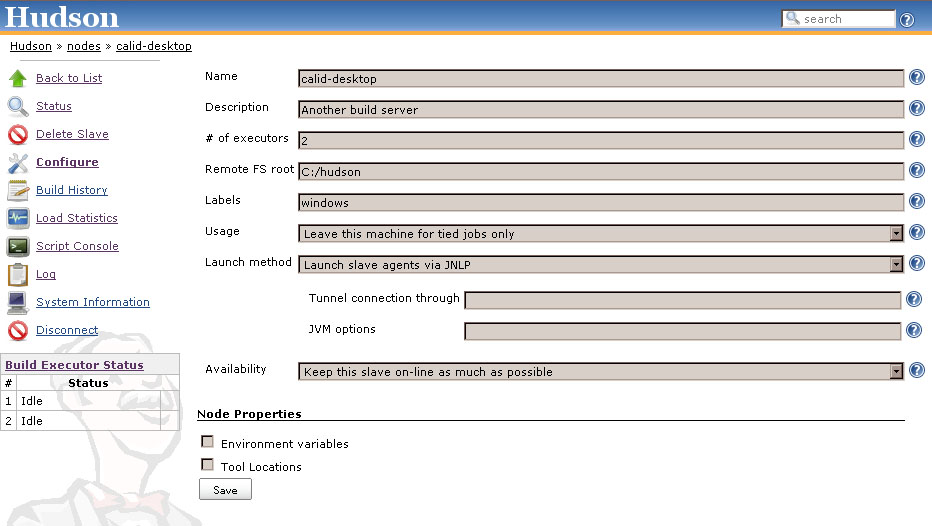
- Fill out the following:
- Set a number of executors
- (one or more) as needed.
- Set a Remote FS Root
- a home directory for the master on the agent machine.
- For a Windows agent, use something like: "C:\Jenkins\"
- Select the appropriate Usage setting:
- For an additional worker: Utilize this node as much as possible
- For specialized jobs: Leave this machine for tied jobs only
- Launch Method:
- An easy way to control a Windows agent is by using Launch agent via Java Web Start (Recommended for Windows)
- TODO: add steps for other methods.
- Availability
- Keep this agent online as much as possible
- TODO: add details for each option.
- Press OK.
- Set a number of executors
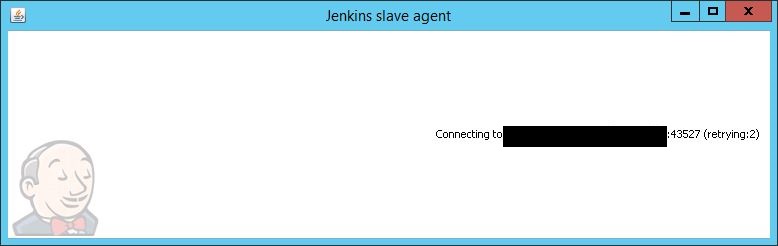
- Now you need to connect your agent machine to the master using the following steps.
- Open a browser on the agent machine and go to the Jenkins master server url (http://yourjenkinsmaster:8080).
- Go to Manage Jenkins > Manage Nodes,
- Click on the newly created agent machine. You will need to login as someone that has the "Connect" Agent permission if you have configured global security.
- Click on the Launch button to launch agent from browser on agent.
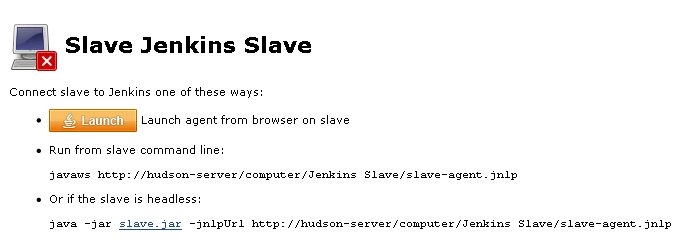
- Run the program.
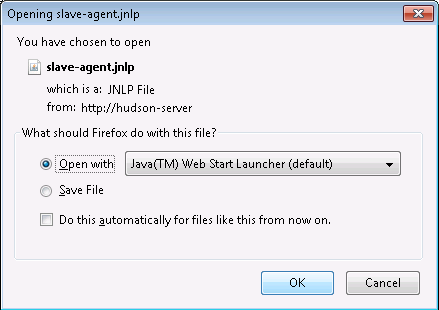
If Windows asks you to choose a program, use$JAVA_HOME\bin\javaws.exe(the Java Web Start Launcher). - If you encounter connection issue, then you could enlarge the popup windows to see the master port used and check your network configuration (firewall, port forward, ...).
Note that Jenkins chooses a random, high-number port. If you want Jenkins to use a static port, go to "Manage Jenkins" > "Configure Global Security" and choose the port number in the "TCP port for JNLP agents" box. - If the port is open, the agent still can't connect, and your Jenkins instance is served securely over SSL/HTTPS, download and install the Java Cryptography Extension (JCE) Unlimited Strength Jurisdiction Policy Files 8. Take the .jar files and save them to
$JAVA_HOME\lib\security. Try the above steps again. - Now you should see the agent machine connected under Nodes.
- If you want the service to run on start-up of the agent machine do the following (Windows only directions):
- In the agent program running on your agent machine,
- click File --> Install as Windows Service.

Note that this feature requires ".Net Framework 3.5"
- Start, type Services and Select the Services program.
- Find Jenkins Agent in the list, Double click to open.
- Select Startup type --> Automatic.
- Go to the Log On tab, change the Log on as to a user of your choice (Special user account Jenkins recommended).
- Make sure that auto login is set for the agent machine for the user account, then the VM (or physical computer) should connect and be available when needed.
TODO: Add steps for connecting via ssh
Also: take a look at Distributed builds